Introduction
Welcome to my latest blog post, where I'll take you on a journey through my experience using InstantID, a powerful tool for generating personalized images with high fidelity and style. In this post, I'll explain what InstantID is, how it works, and how I used it to create stunning images of myself in various styles using ComfyUI.
What is InstantID?
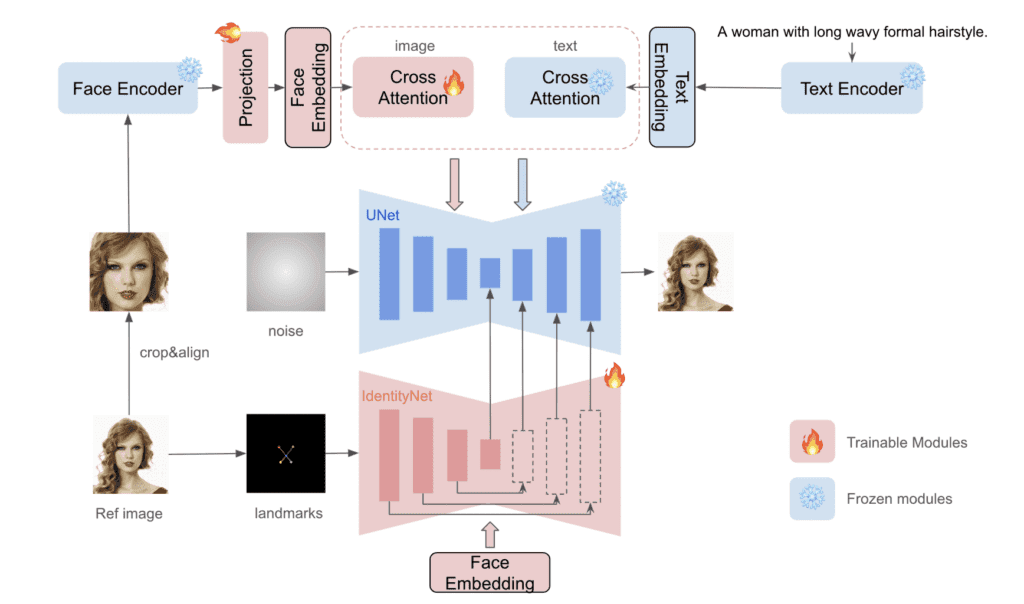
InstantID is a cutting-edge technology that leverages InsightFace to detect, crop, and extract face embeddings from reference images. These embeddings are then used with the IP-adapter to control image generation, similar to the IP-Adapter Face ID. Additionally, InstantID uses ControlNet to detect and fix facial landmarks, such as eyes, nose, and mouth, ensuring high accuracy in the generated images.
Why Use InstantID?
InstantID stands out because it uses Stable Diffusion XL (SDXL) models, providing superior quality and detail compared to previous versions like Stable Diffusion 1.5. This makes InstantID an excellent choice for face-swapping and stylizing images with high fidelity.
Setting Up InstantID
To get started with InstantID, I used the AUTOMATIC1111 software, a popular and free Stable Diffusion tool. Here’s a quick overview of the setup process
- Install ControlNet Extension:
- Navigate to the Extension Page in AUTOMATIC1111.
- Click on "Install from URL" and enter the URL:
https://github.com/Mikubill/sd-webui-controlnet. - Install and restart AUTOMATIC1111.
- Download and Install InstantID Models:
- Download the IP Adapter model and rename it to
ip-adapter_instant_id_sdxl.bin, then place it in theControlNetfolder. - Download the InstantID controlnet model, rename it to
control_instant_id_sdxl.safetensors, and place it in the same folder.
- Download the IP Adapter model and rename it to
- Select SDXL Model:
- I chose the Dreamshaper SDXL Turbo model for its balance of speed and quality.
Generating Images with InstantID
Using InstantID involves a few key steps to ensure the best results. Here’s how I did it:
- Set Up txt2img:
- Select the Dreamshaper SDXL Turbo model.
- Enter prompts and negative prompts to control the style and quality of the image.
- Adjust the sampling method, steps, and image dimensions slightly off 1024x1024 for optimal results.
- Configure ControlNet:
- Use two ControlNets for InstantID: one for facial features and another for key facial landmarks.
- Upload the same reference image for both ControlNets to maintain consistency.
- Adjust Settings:
- Tweak control weights, starting and ending control steps, and CFG scale to fine-tune the generated images.
Tips for Success
- Experiment with Prompts: The style is controlled by the prompt, so don't be afraid to try different descriptions and adjust settings accordingly.
- Watch for Errors: InstantID can be finicky. If you encounter errors, try turning off ControlNets, generating an image, and then turning them back on.
- Adjust Settings: Fine-tune the control weights, CFG scale, and ending control steps for the best results.
Conclusion
Using InstantID has been a fascinating and rewarding experience, allowing me to create personalized images in various styles with remarkable accuracy. Whether you're looking to create realistic portraits, artistic renditions, or fun anime characters, InstantID offers a powerful toolset for achieving your creative vision.
I hope this guide inspires you to explore InstantID and discover the endless possibilities it offers. Happy image generating!
Feel free to reach out if you have any questions or want to share your own experiences with InstantID. Until next time, keep creating!
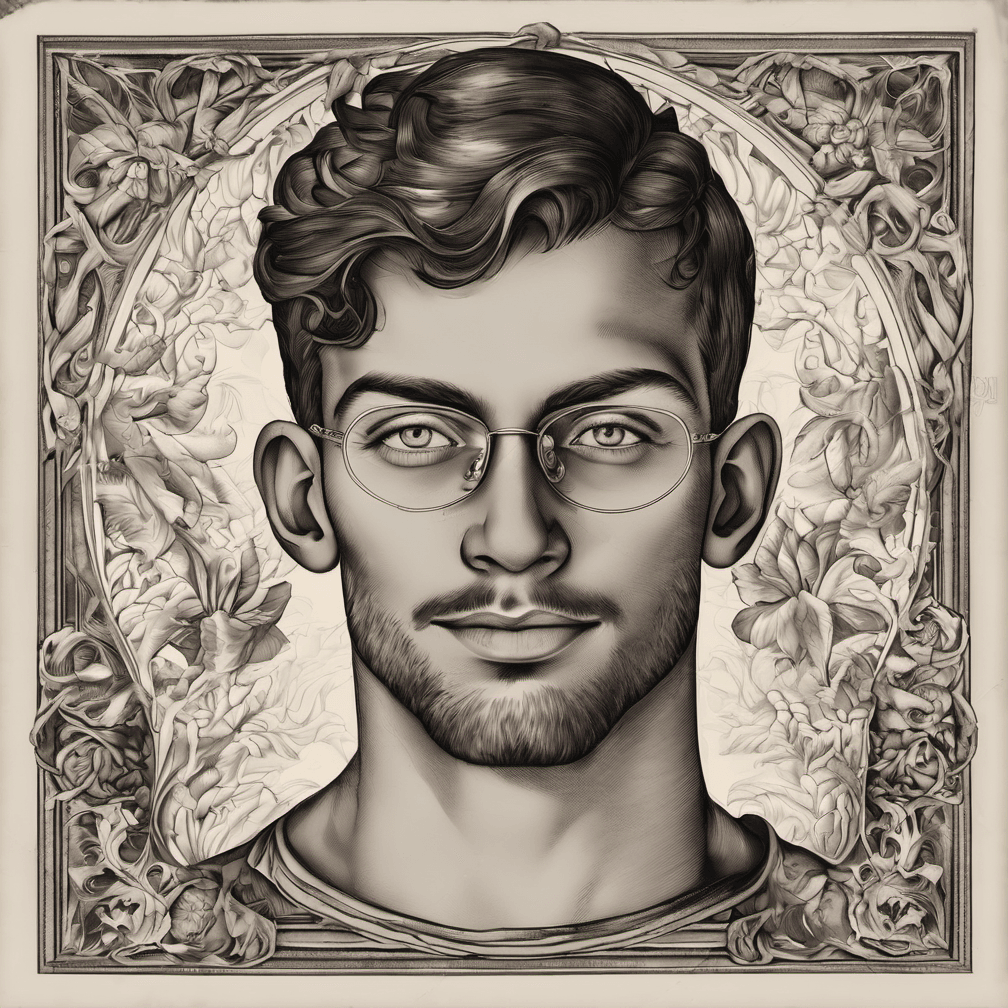
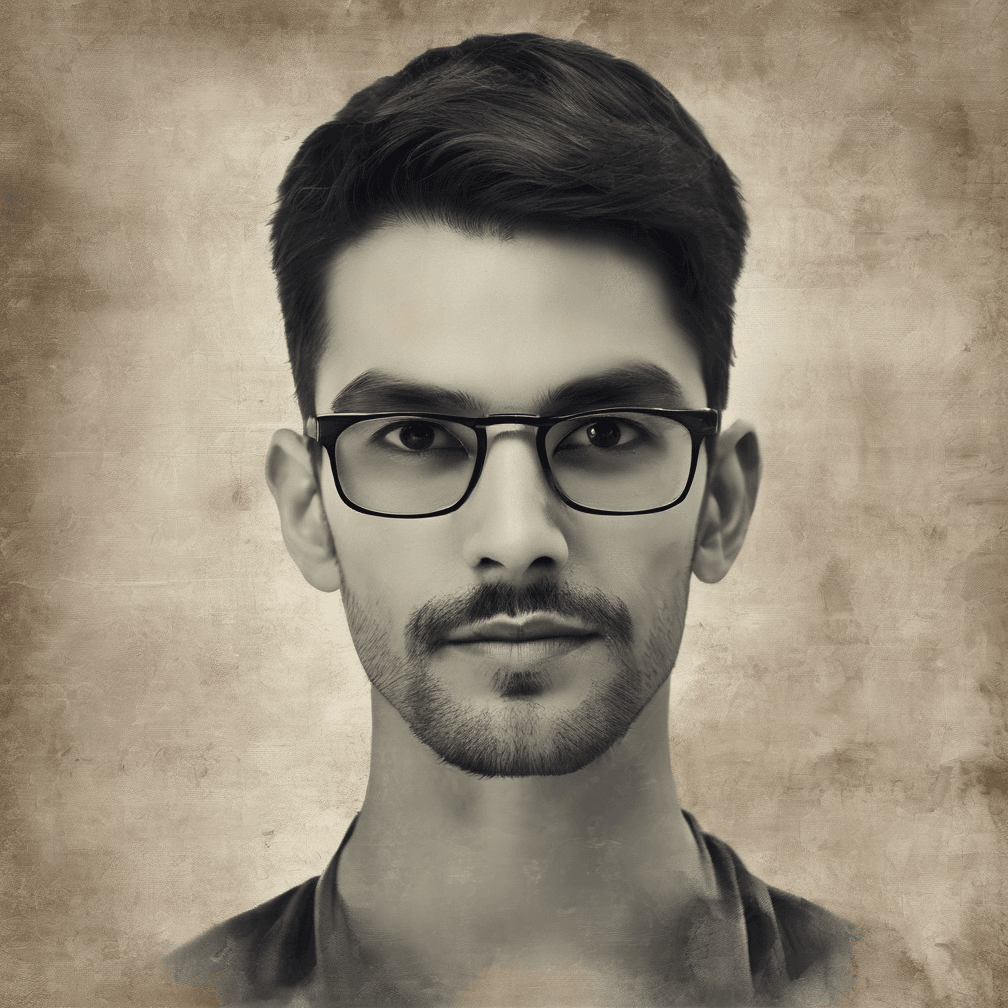
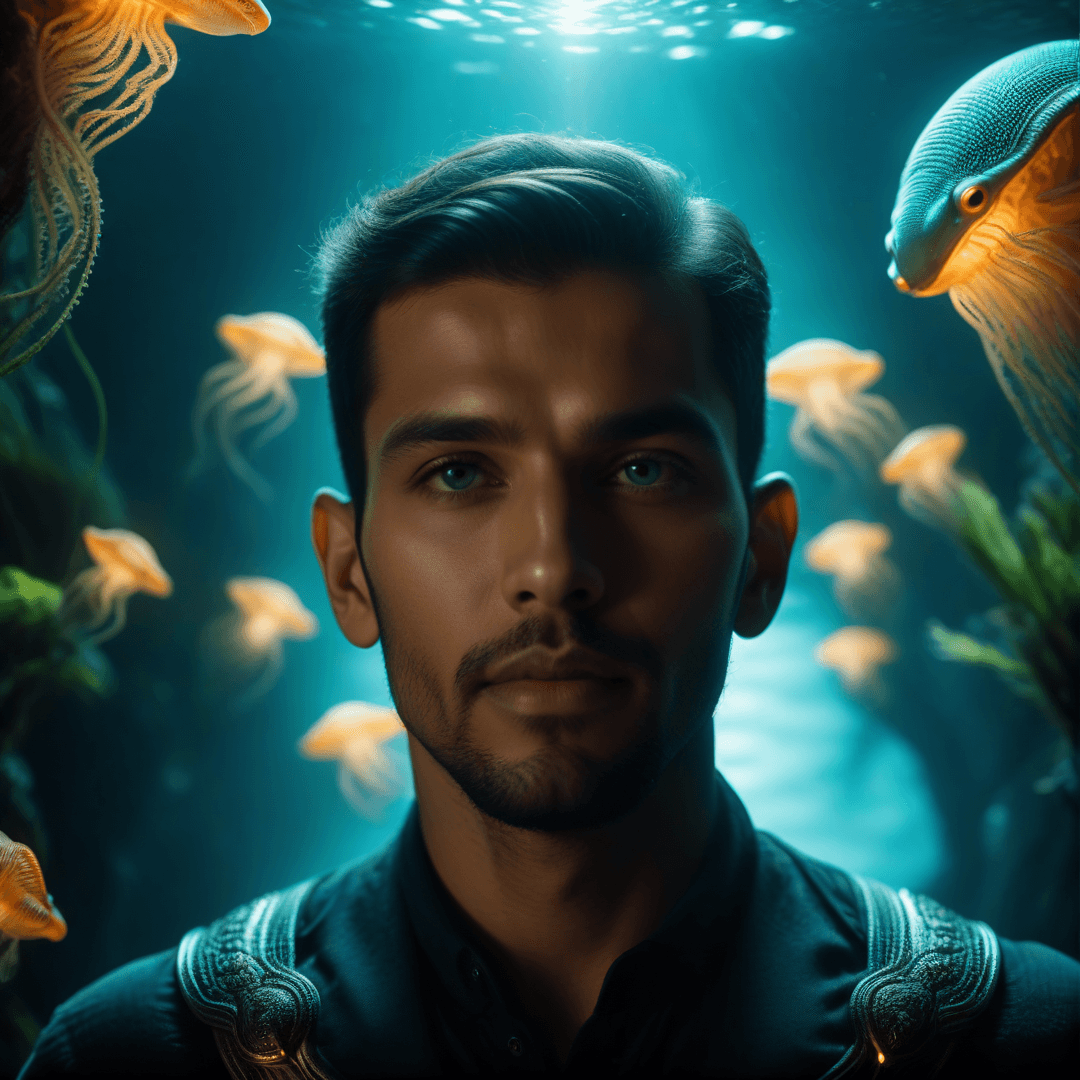
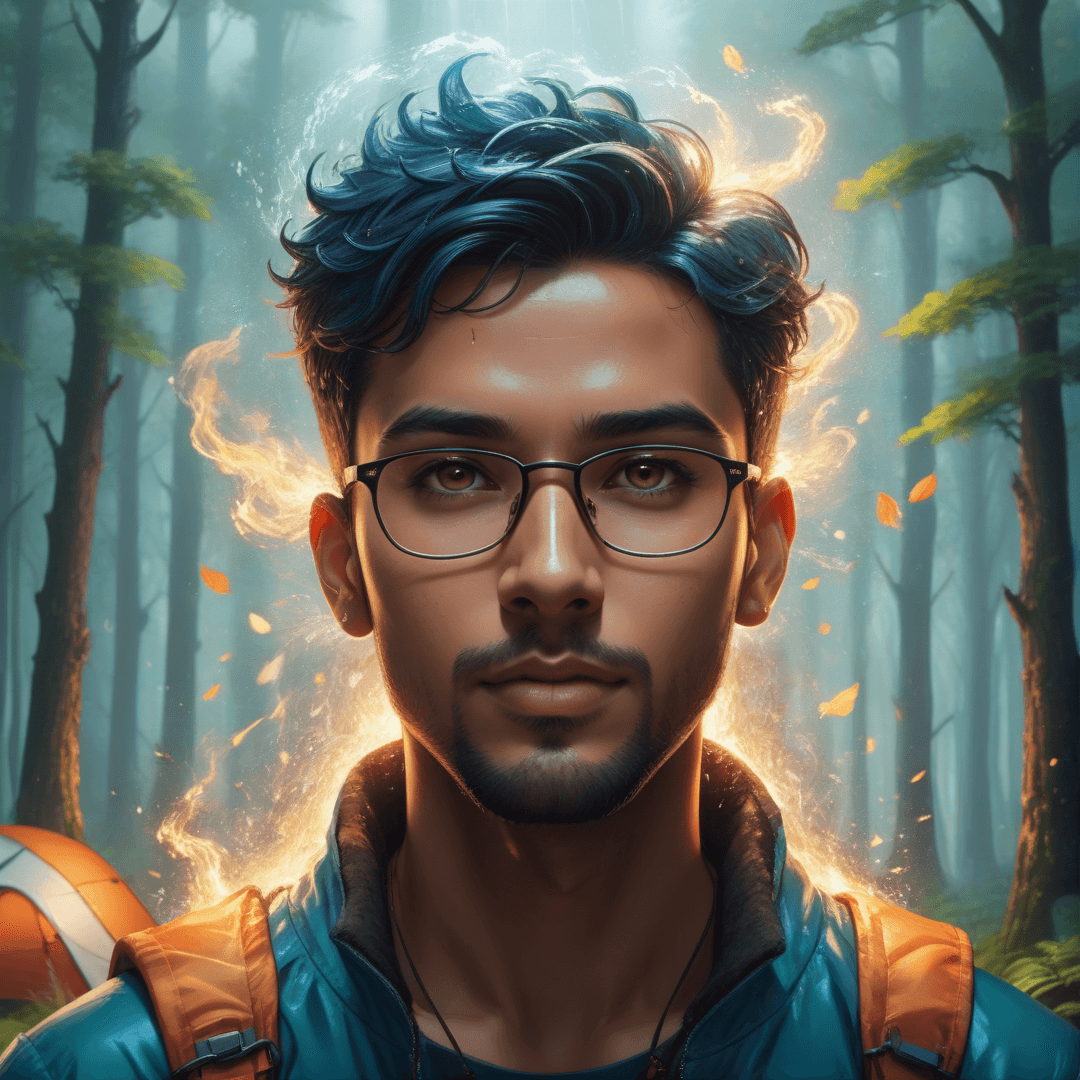
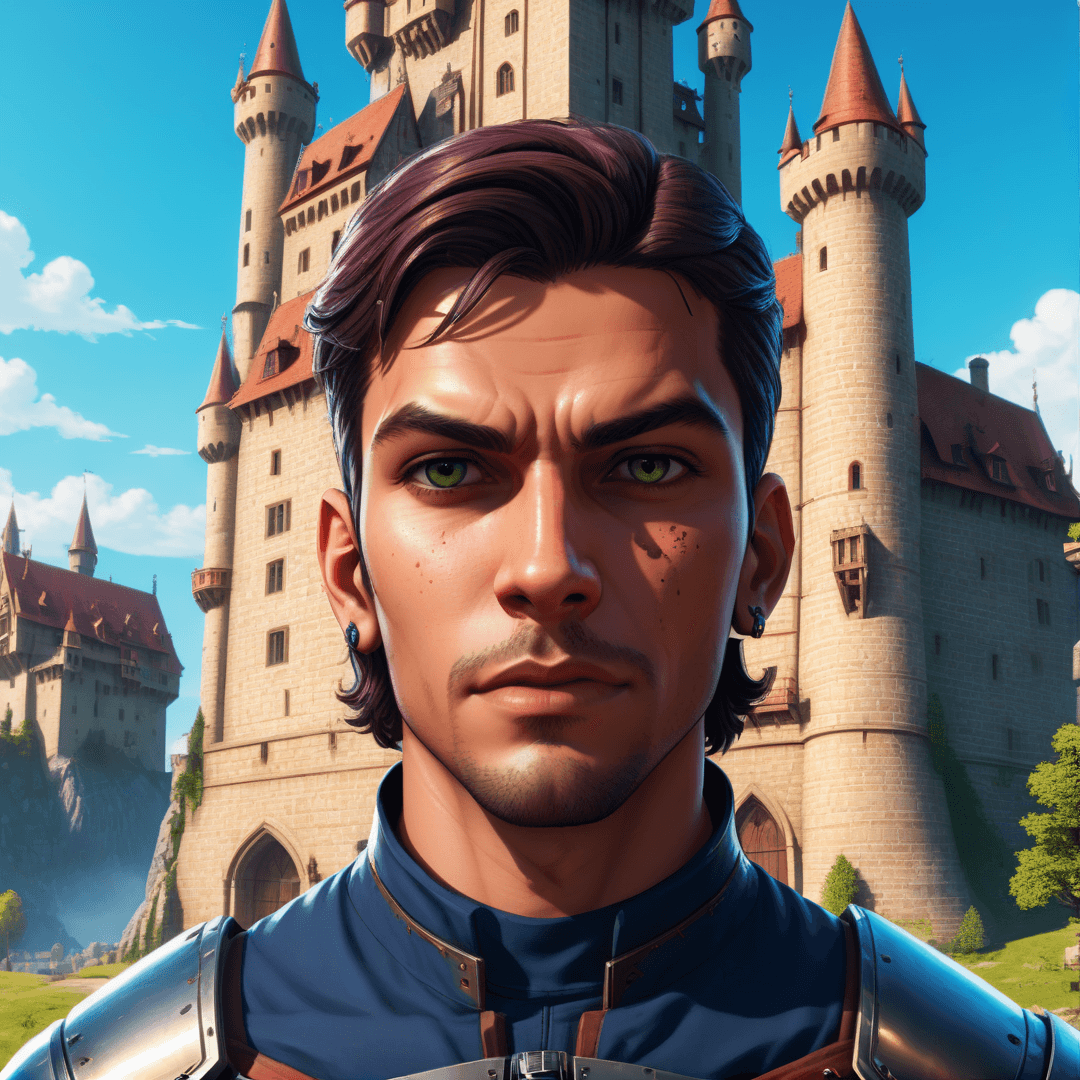
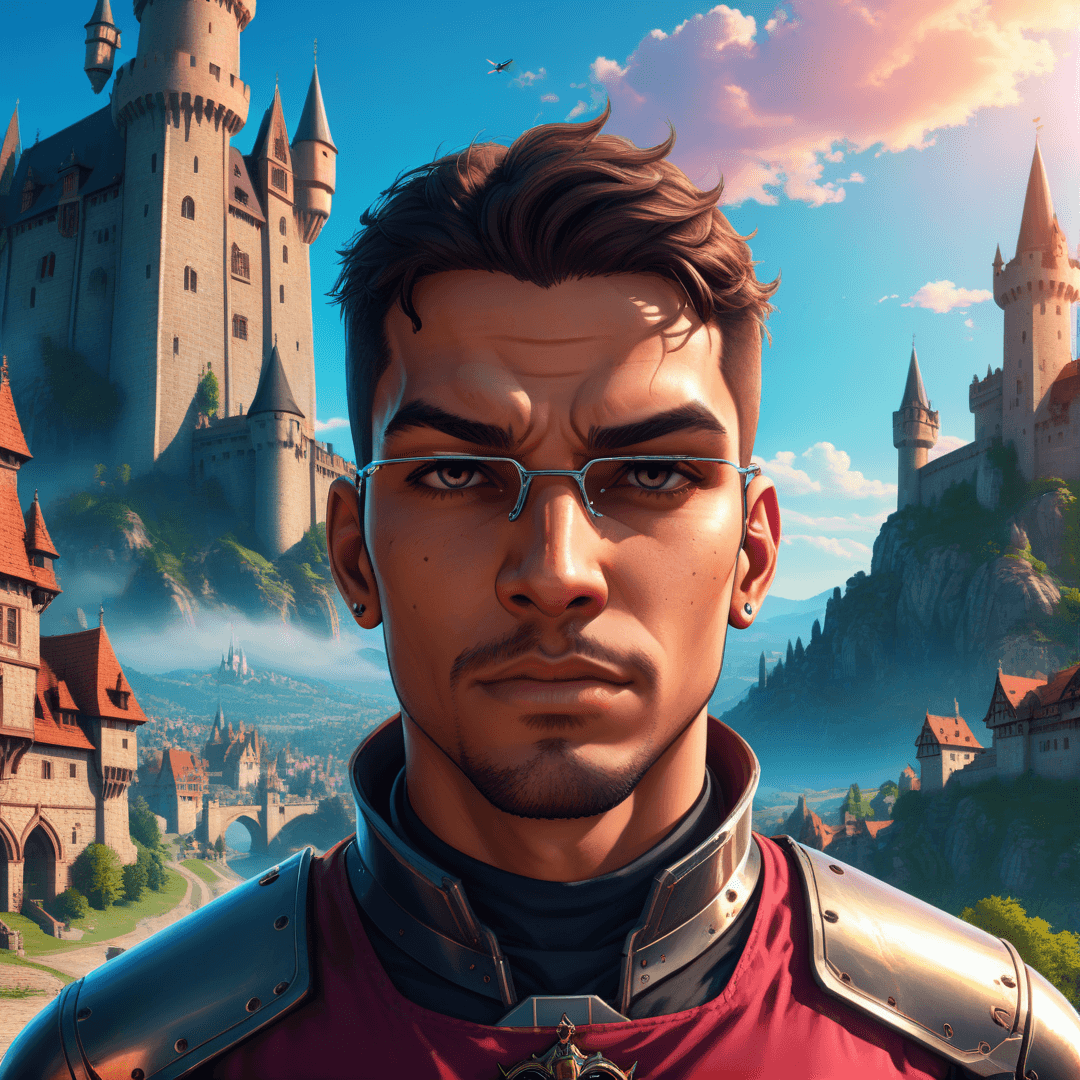
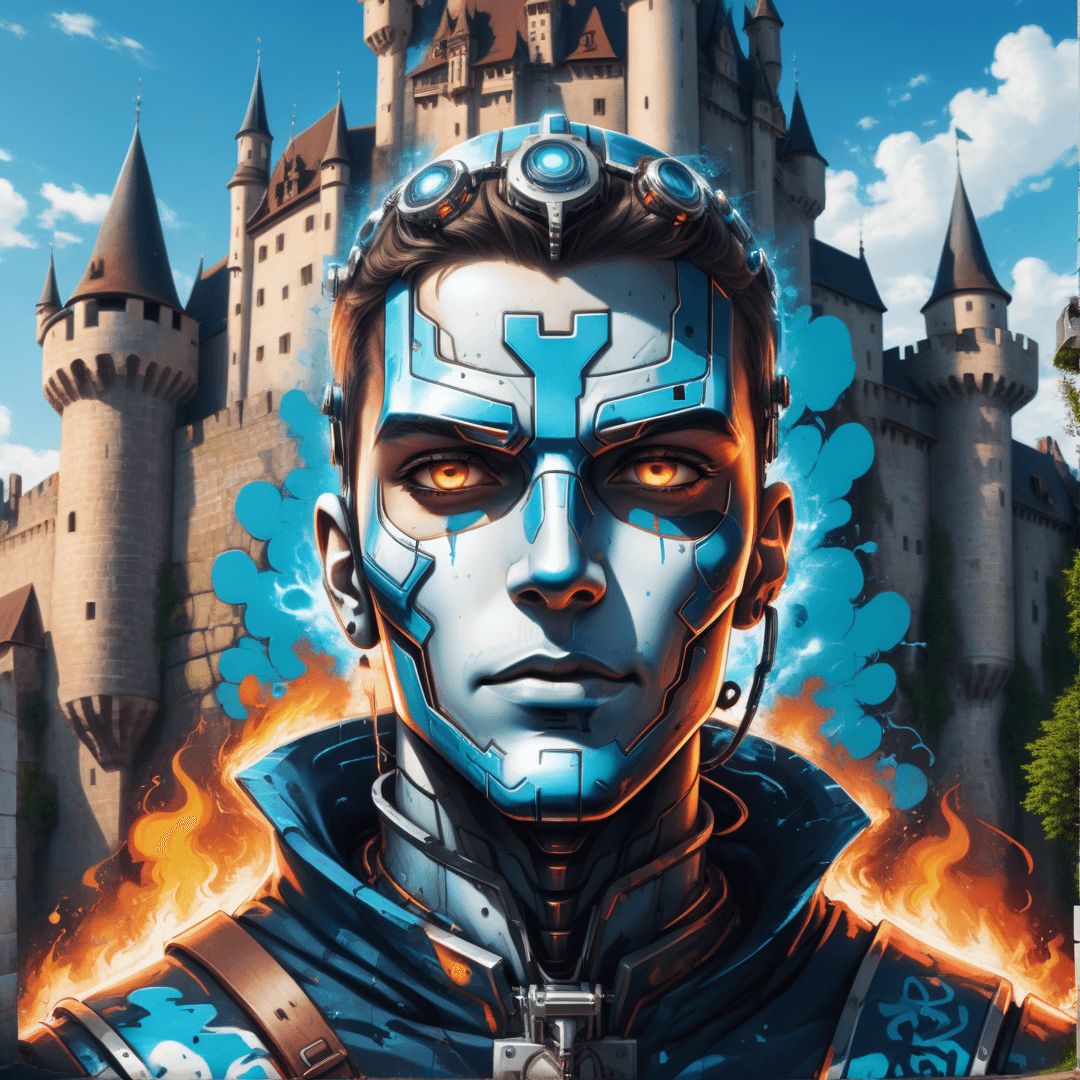
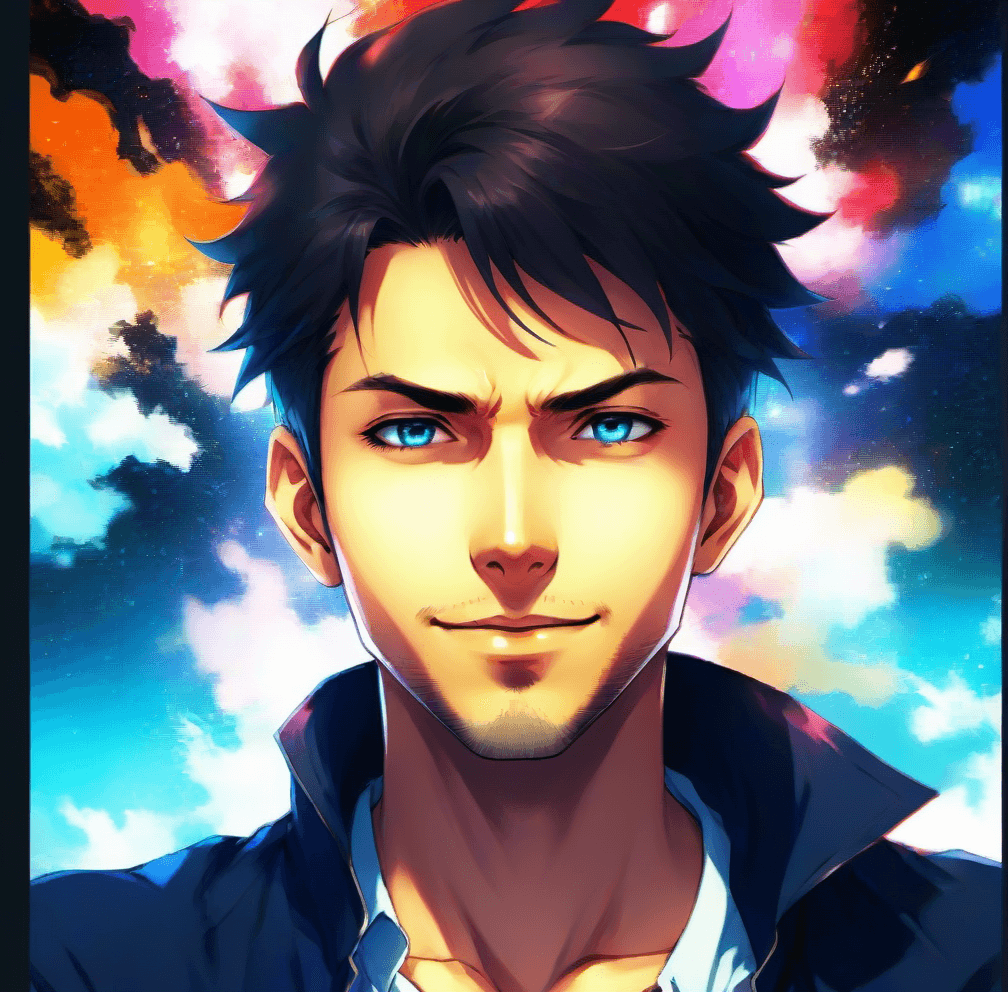
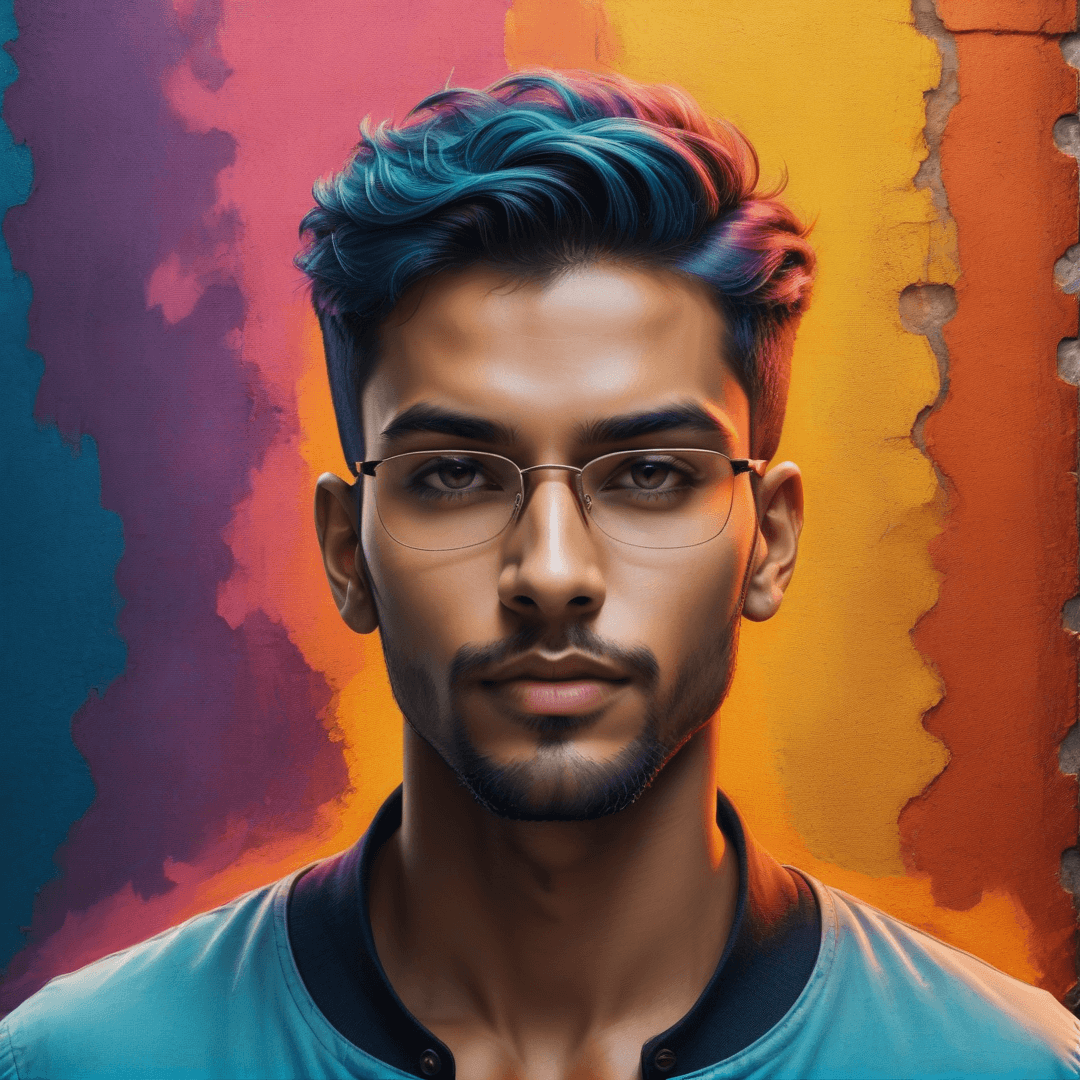
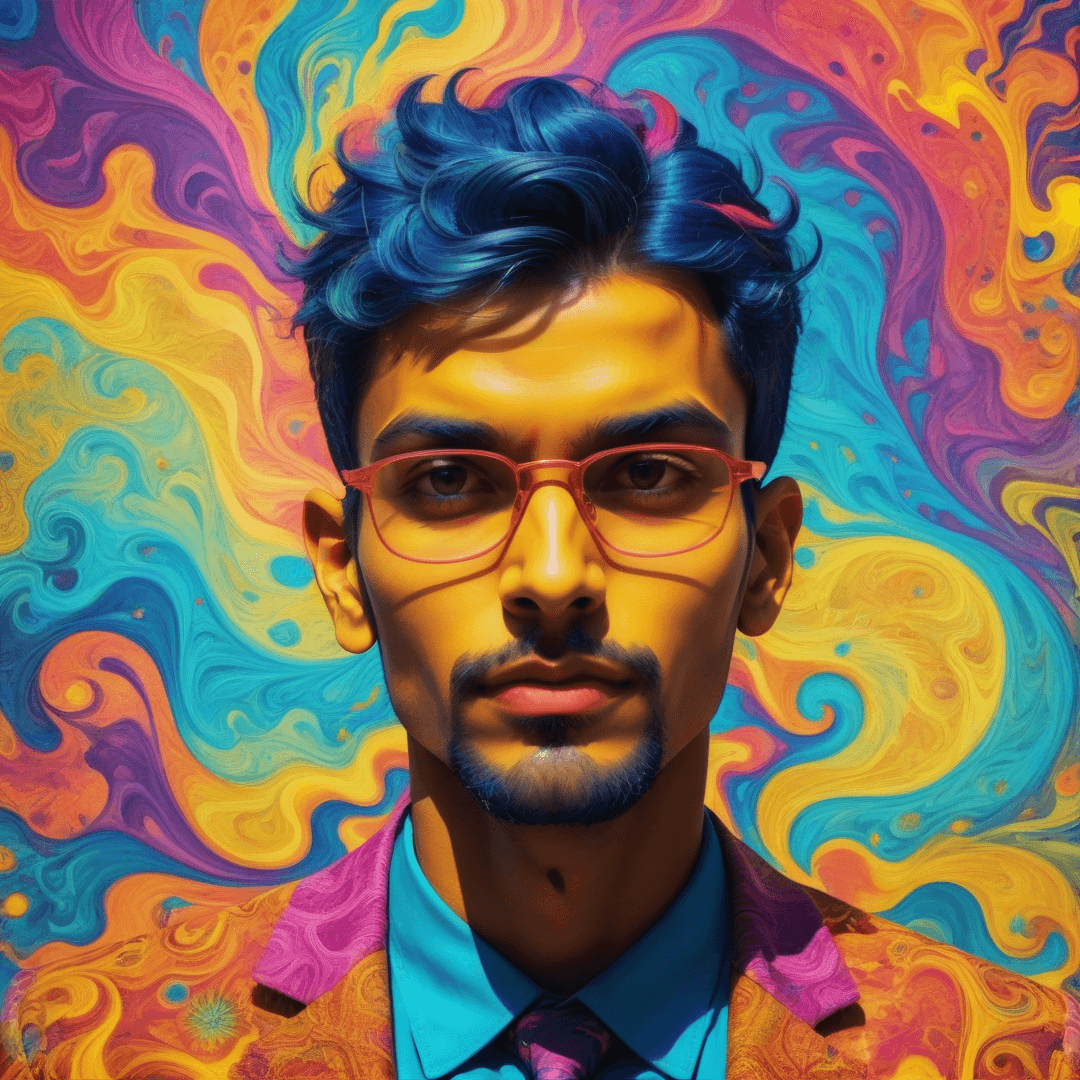
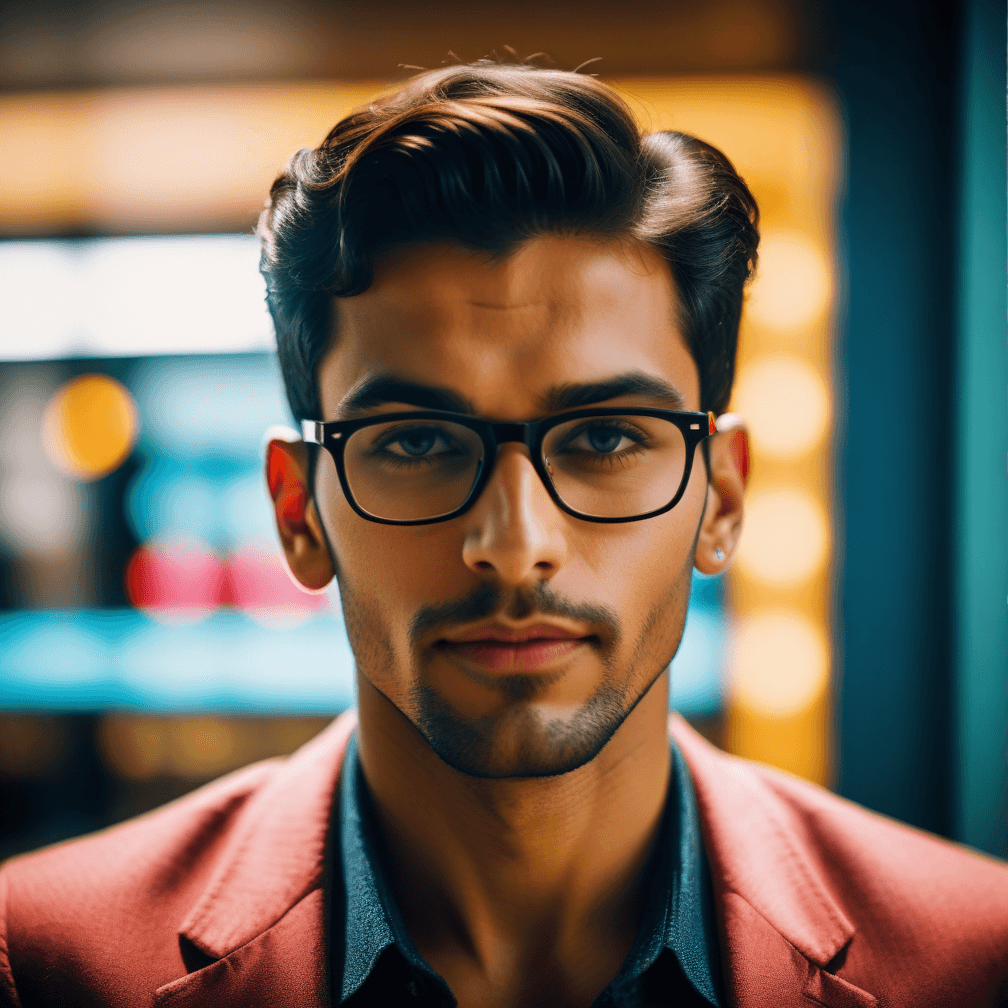
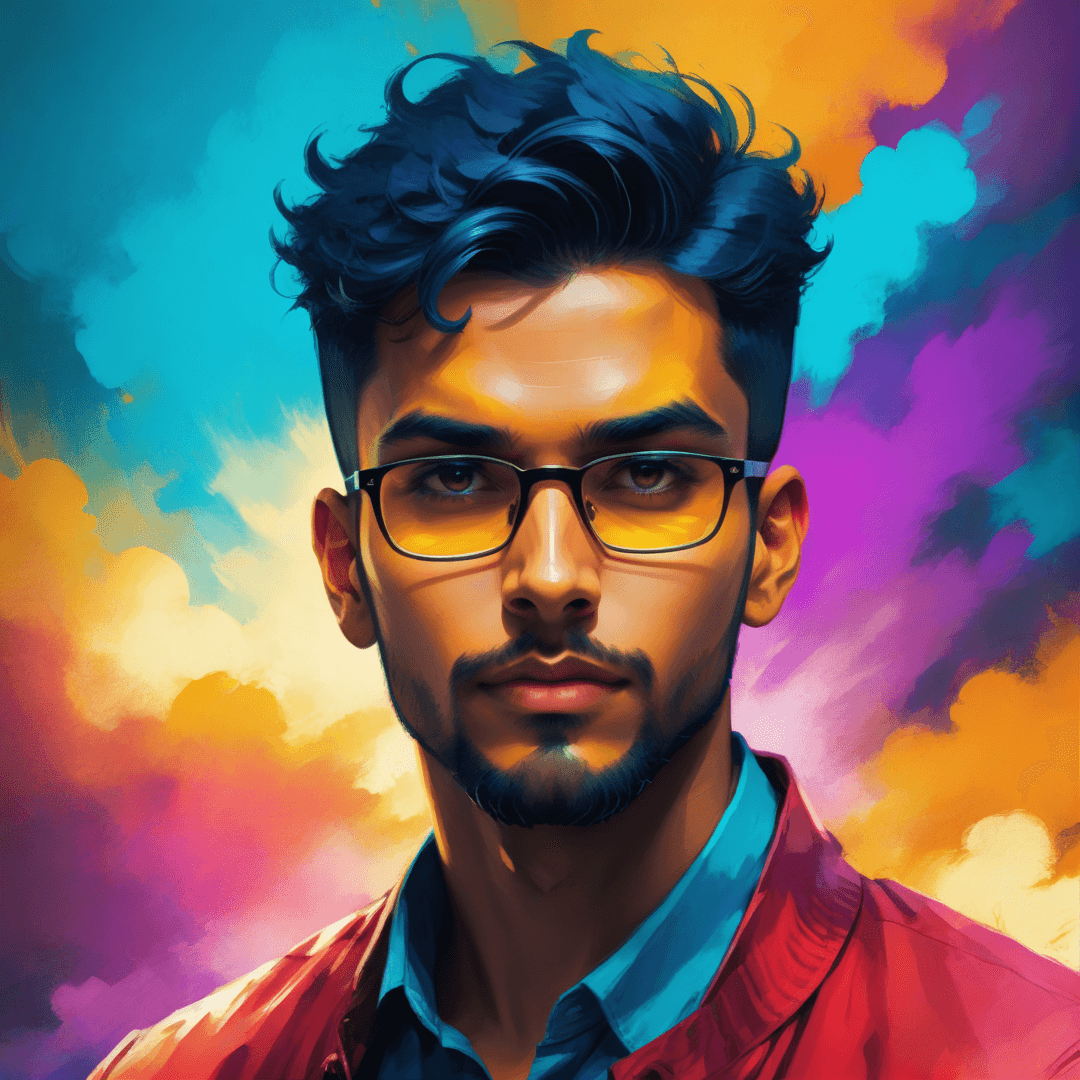
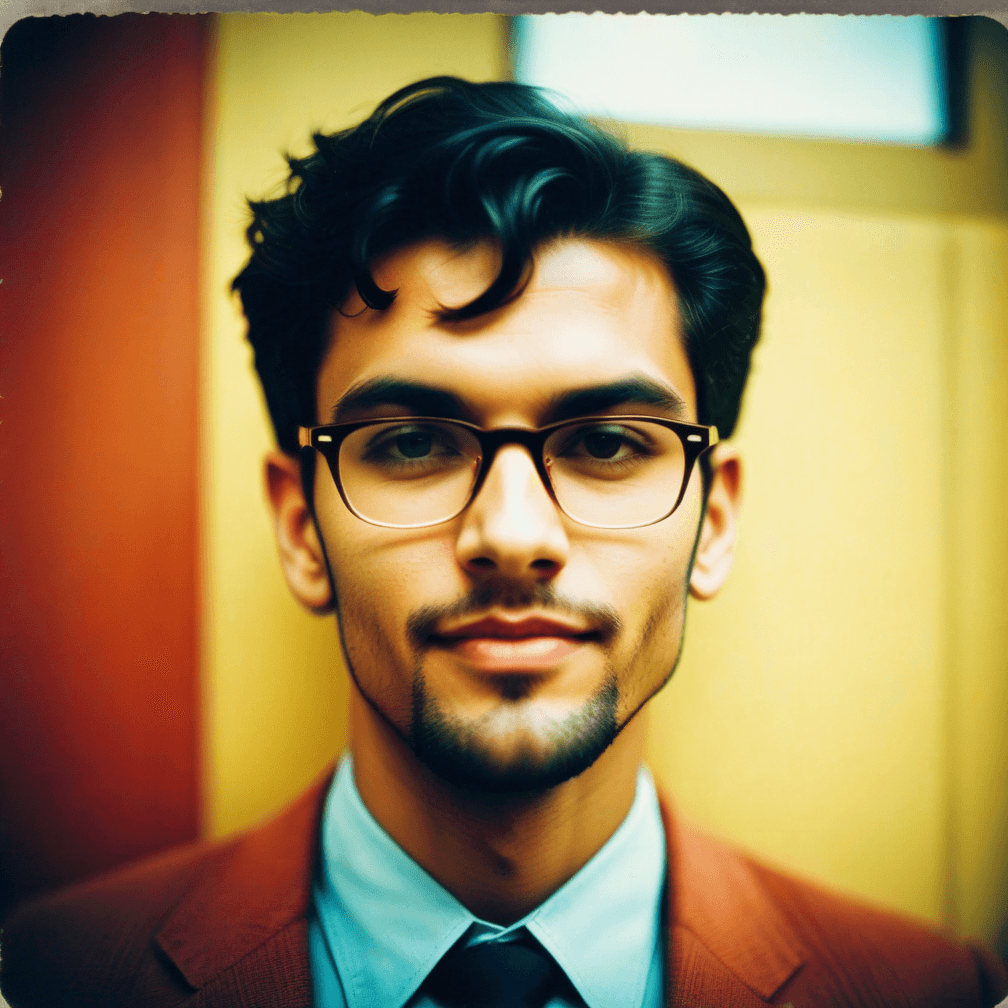
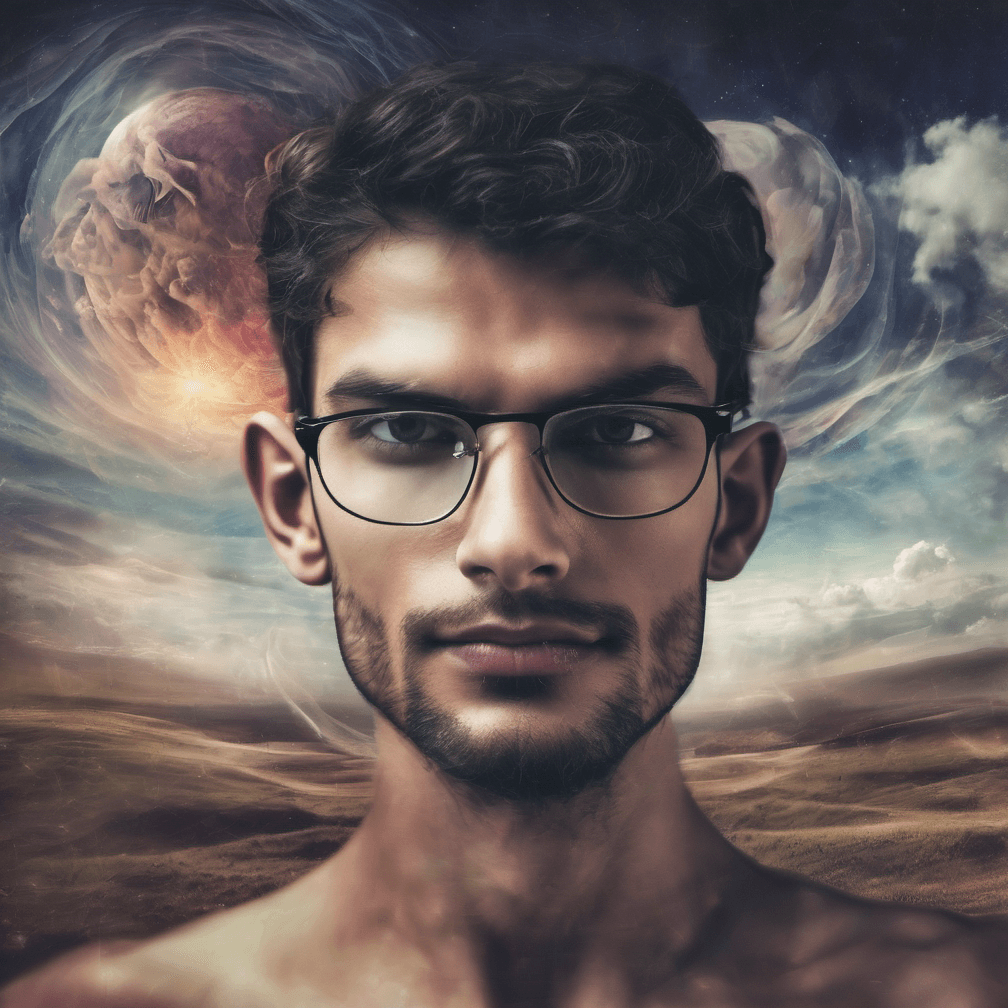
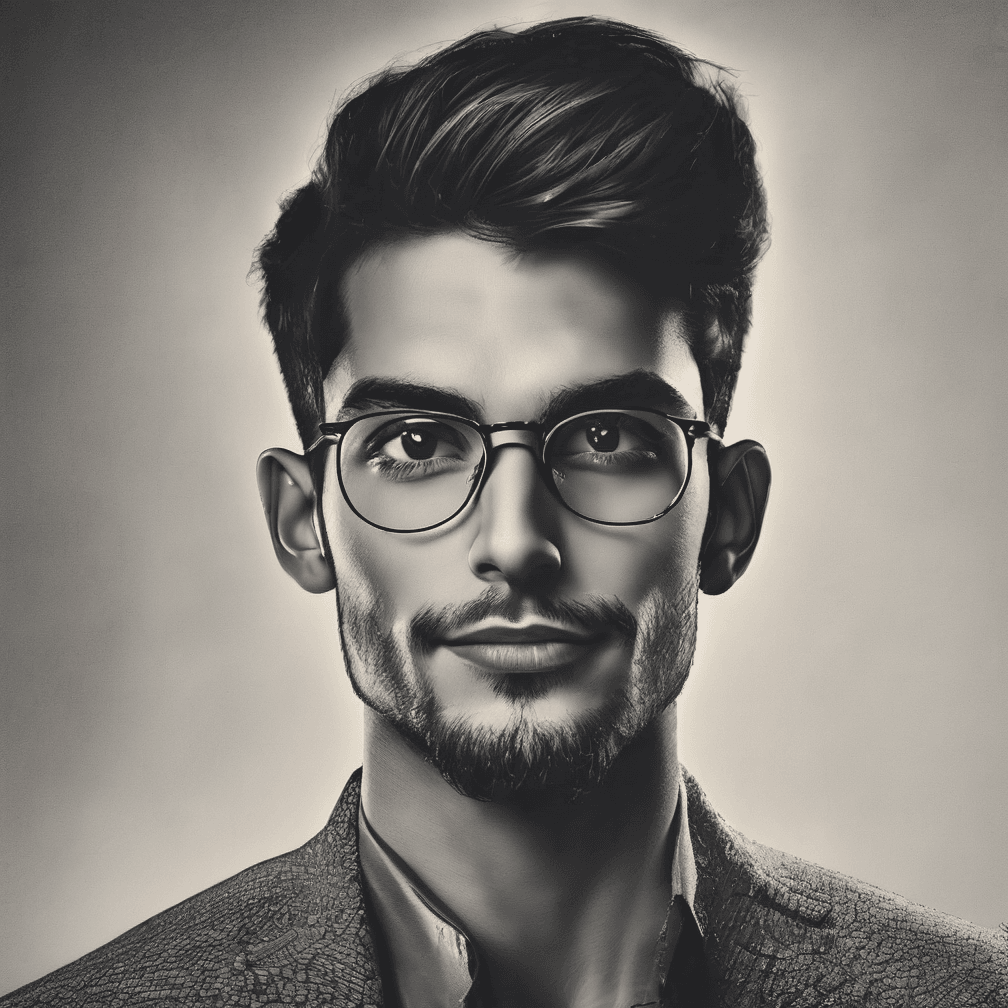
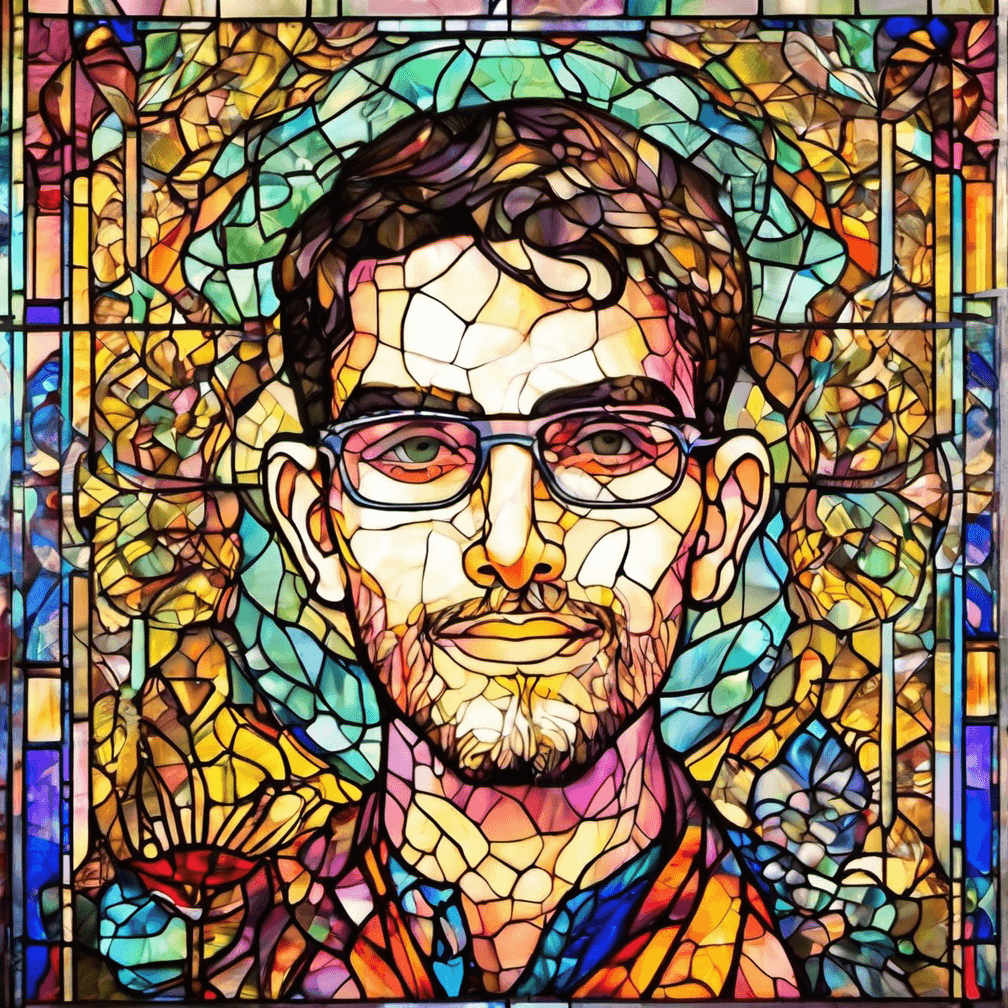
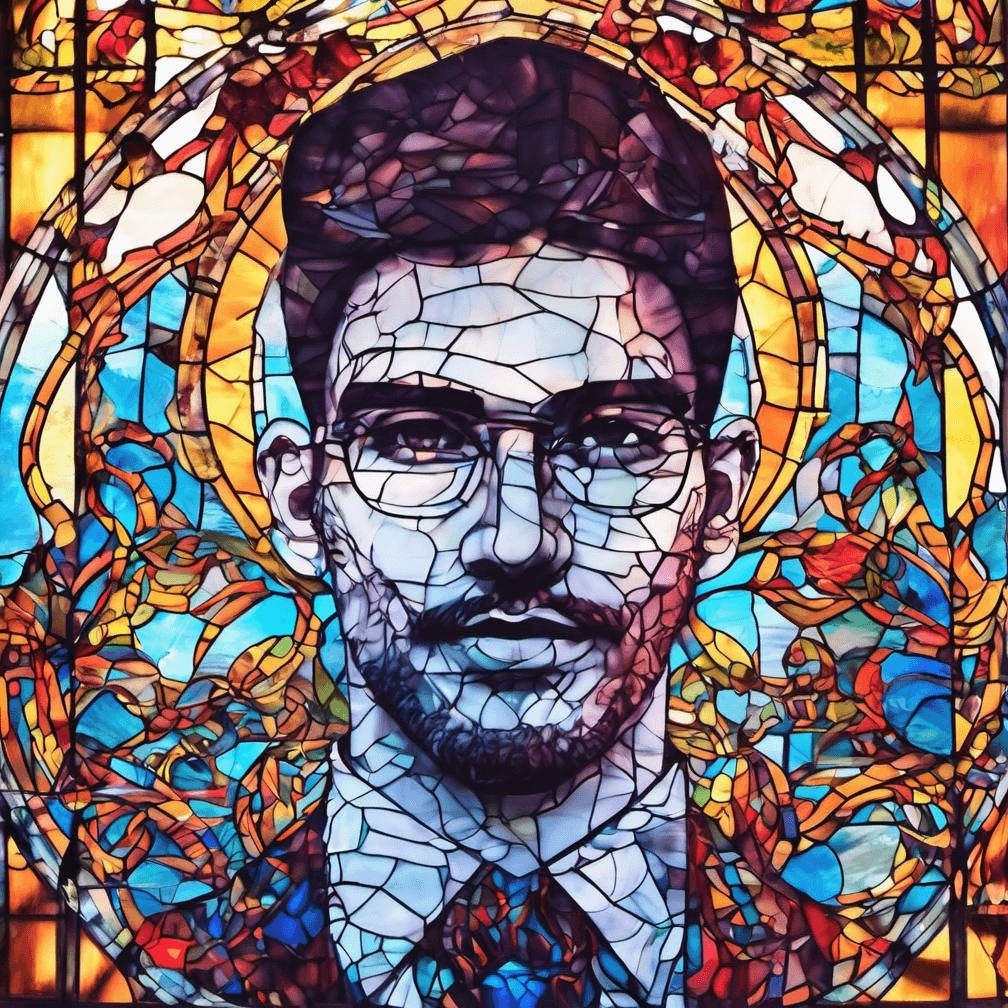
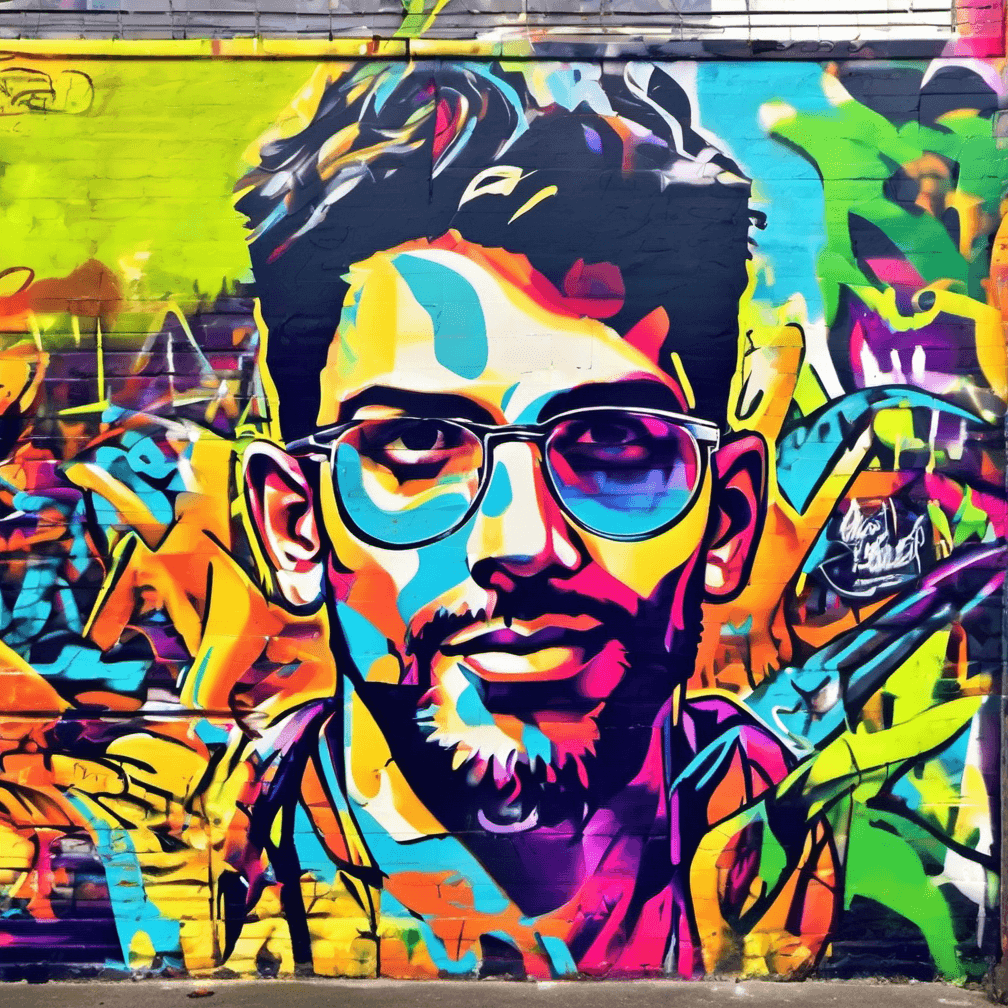
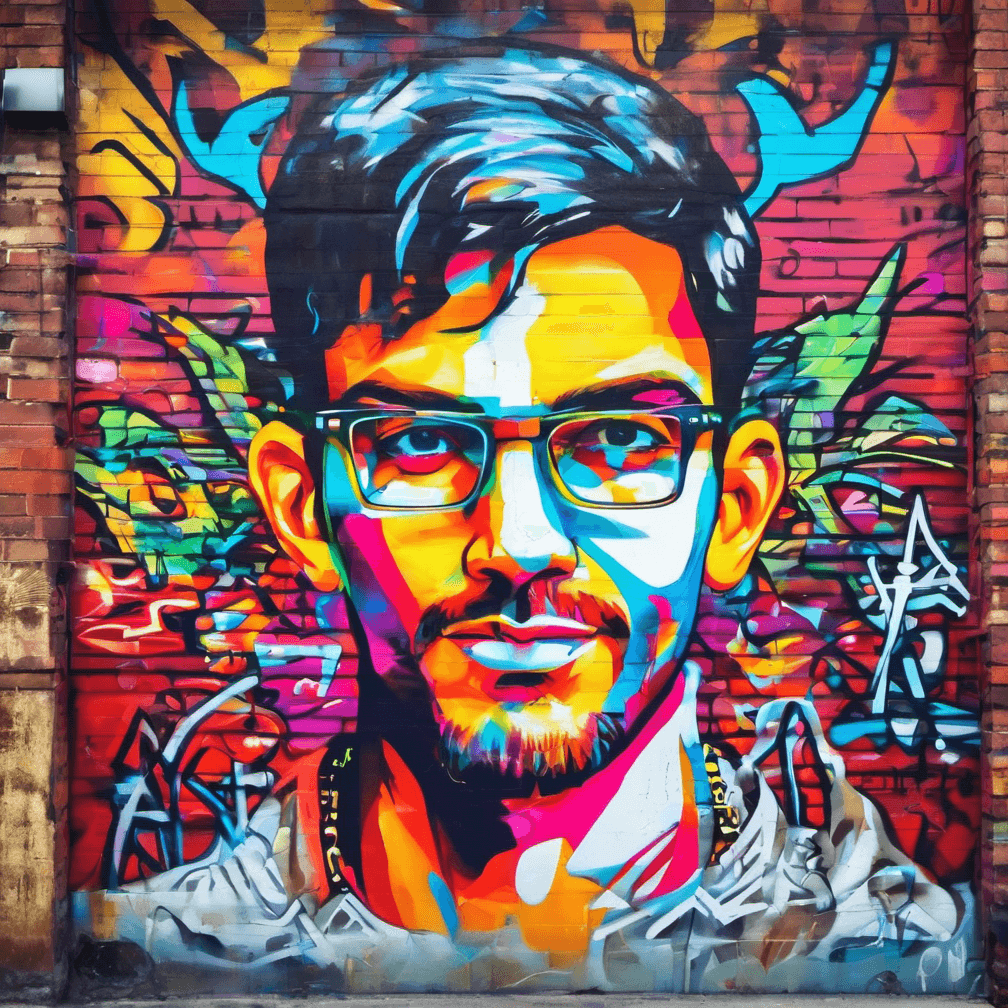
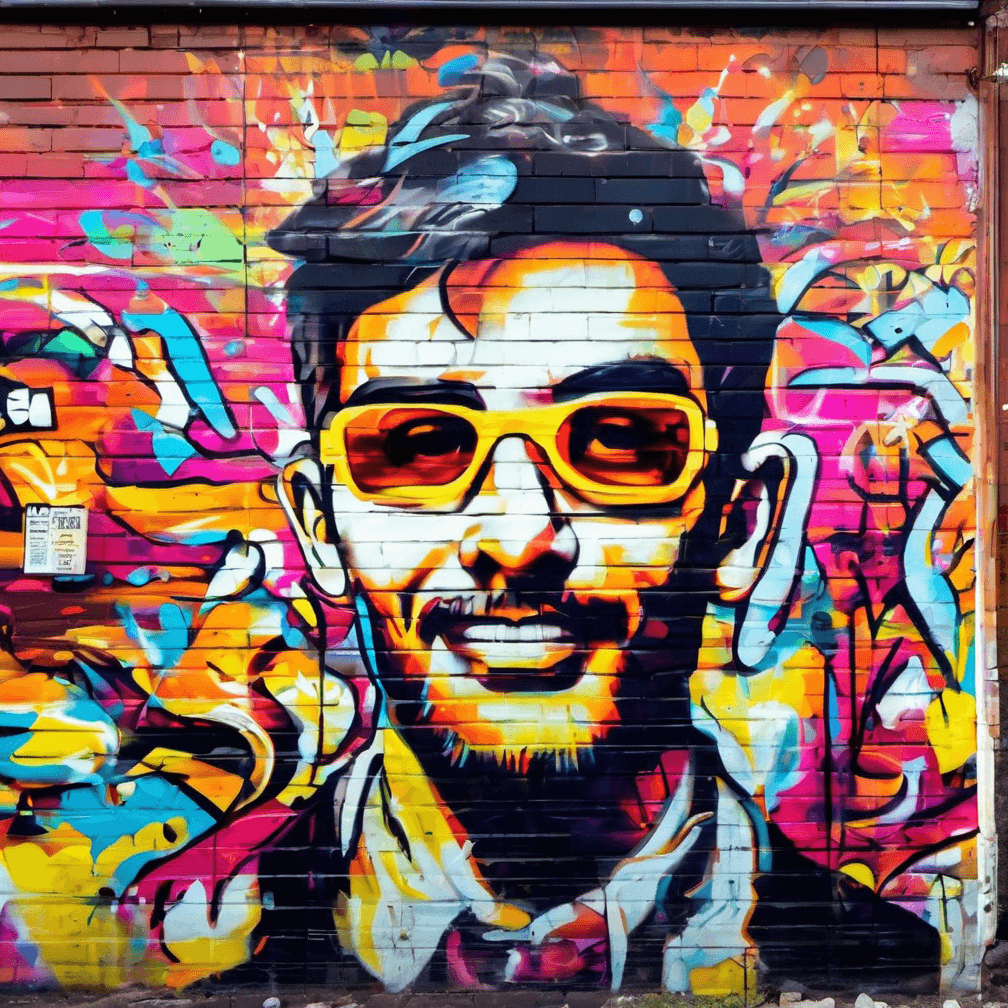
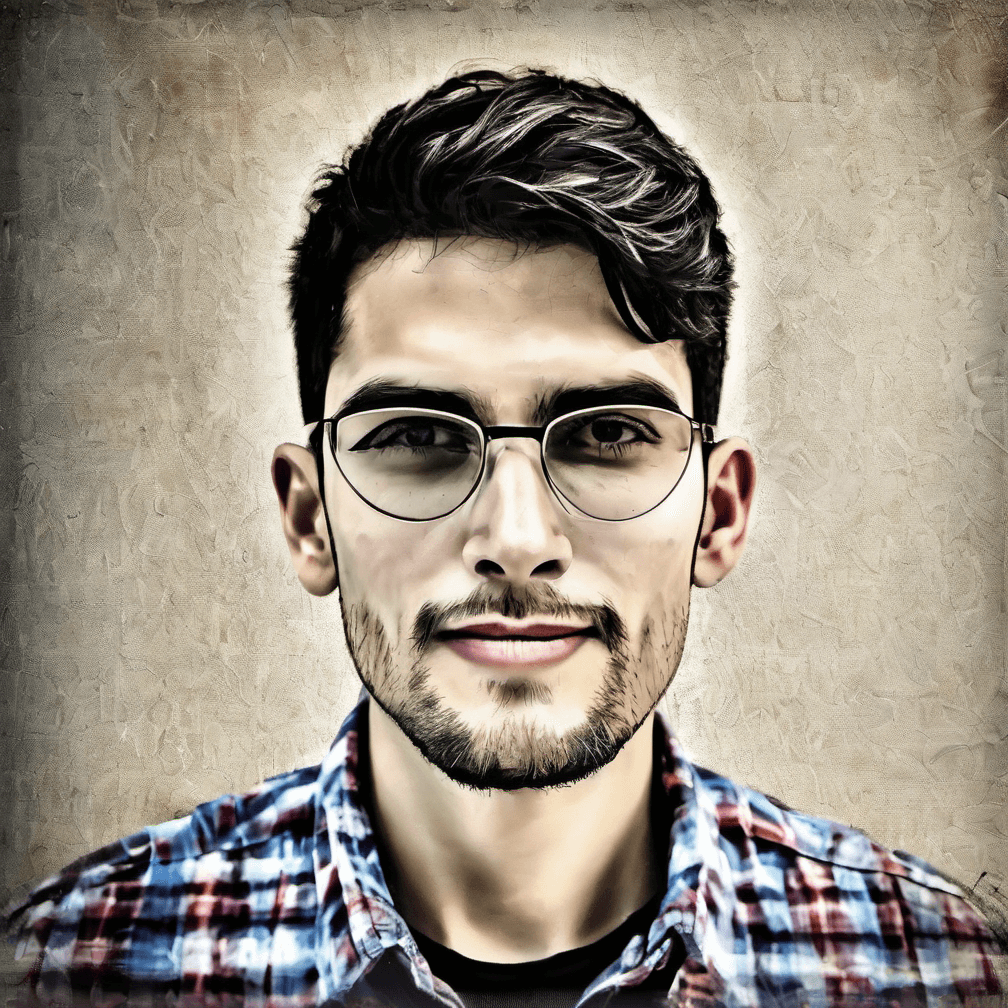
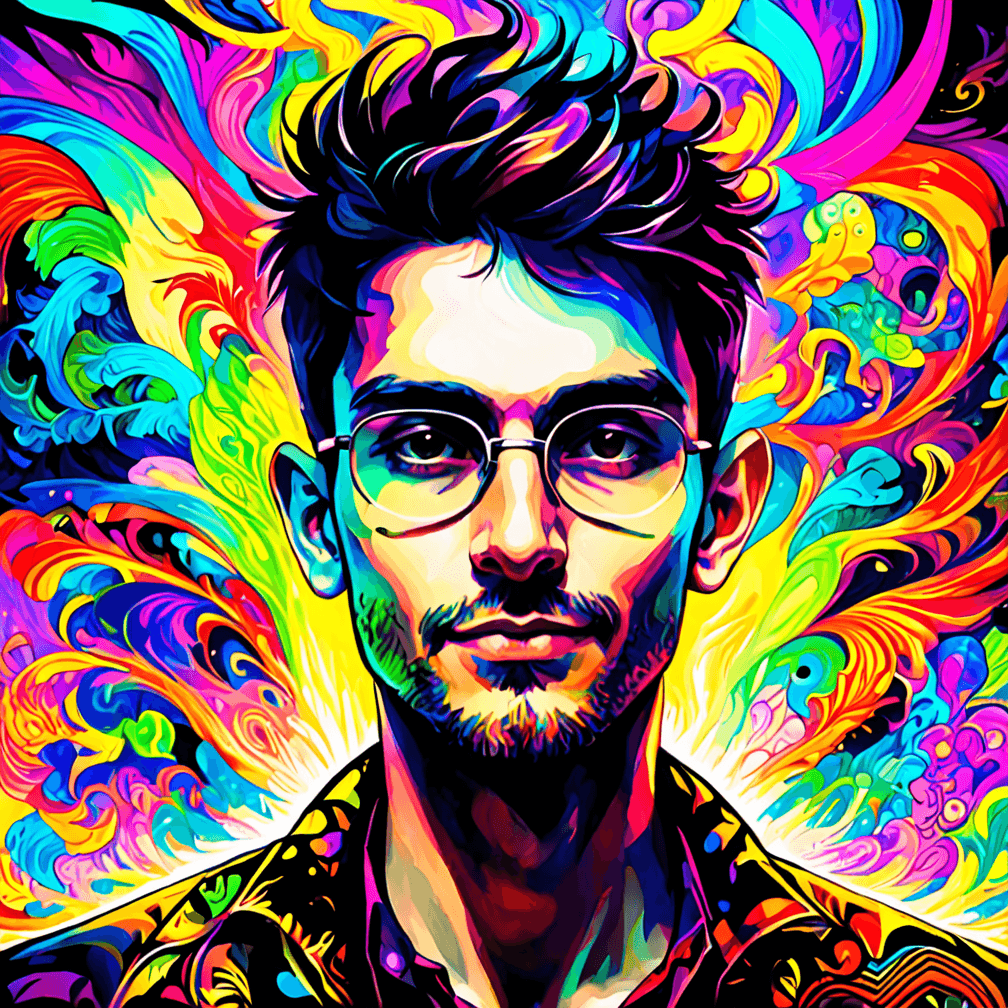
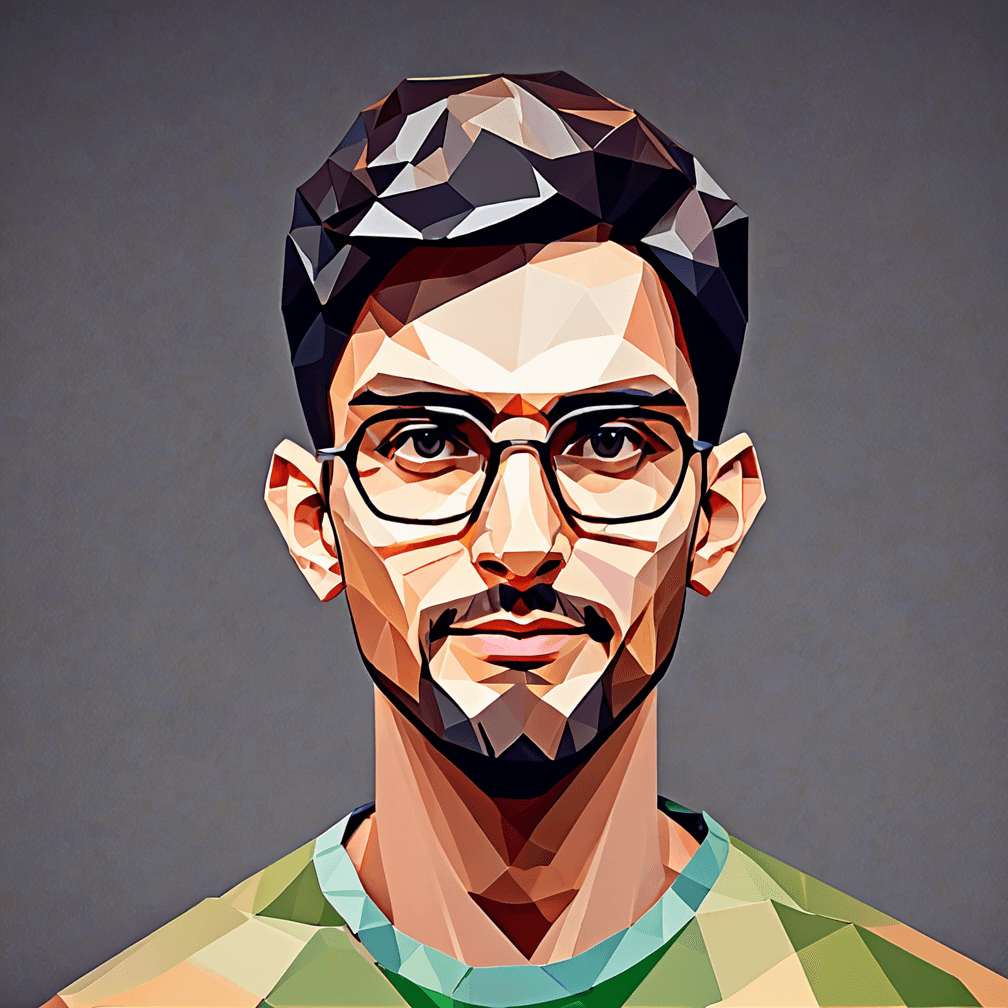
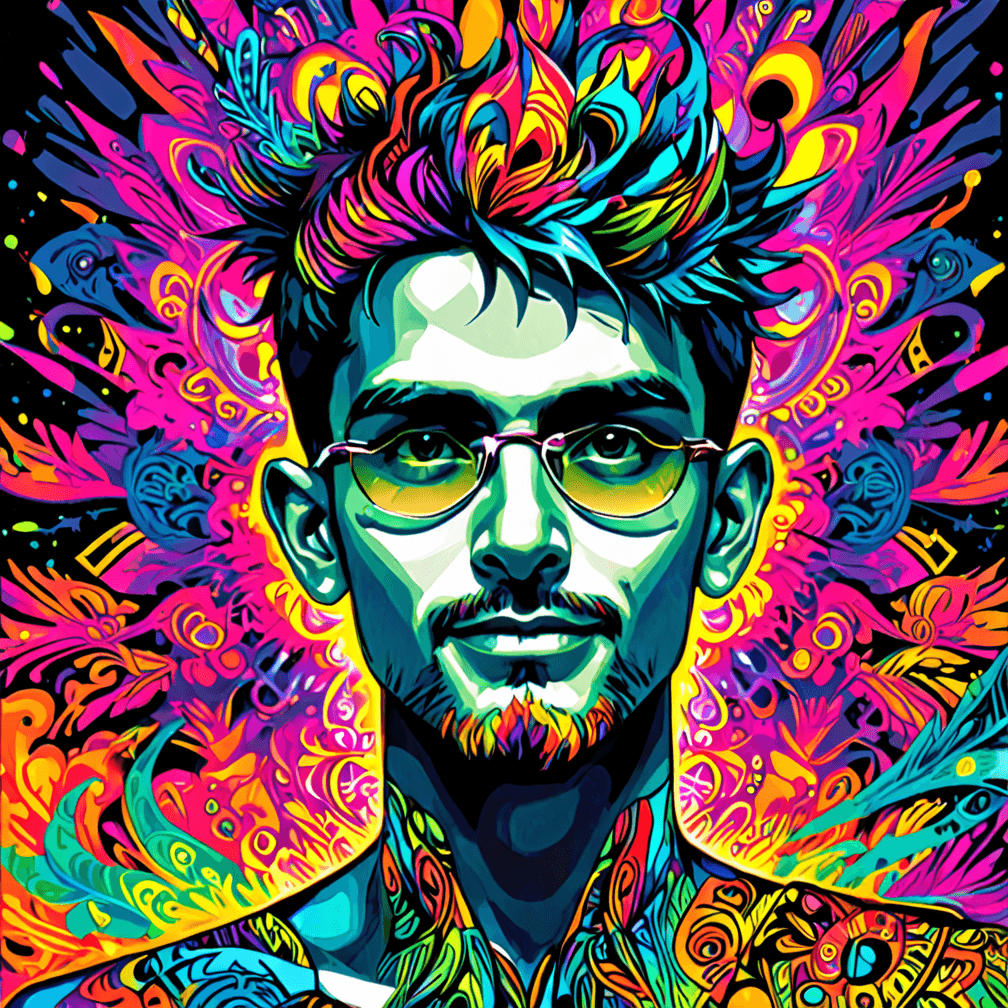
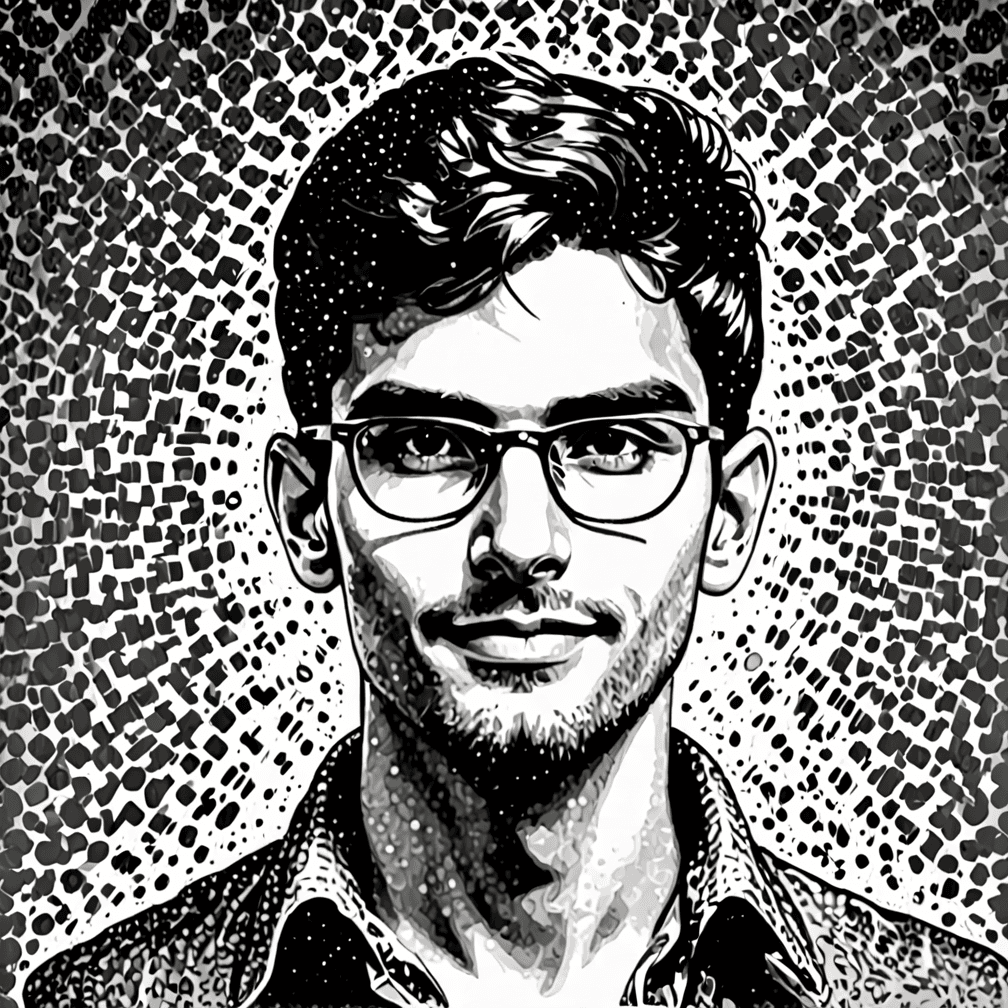
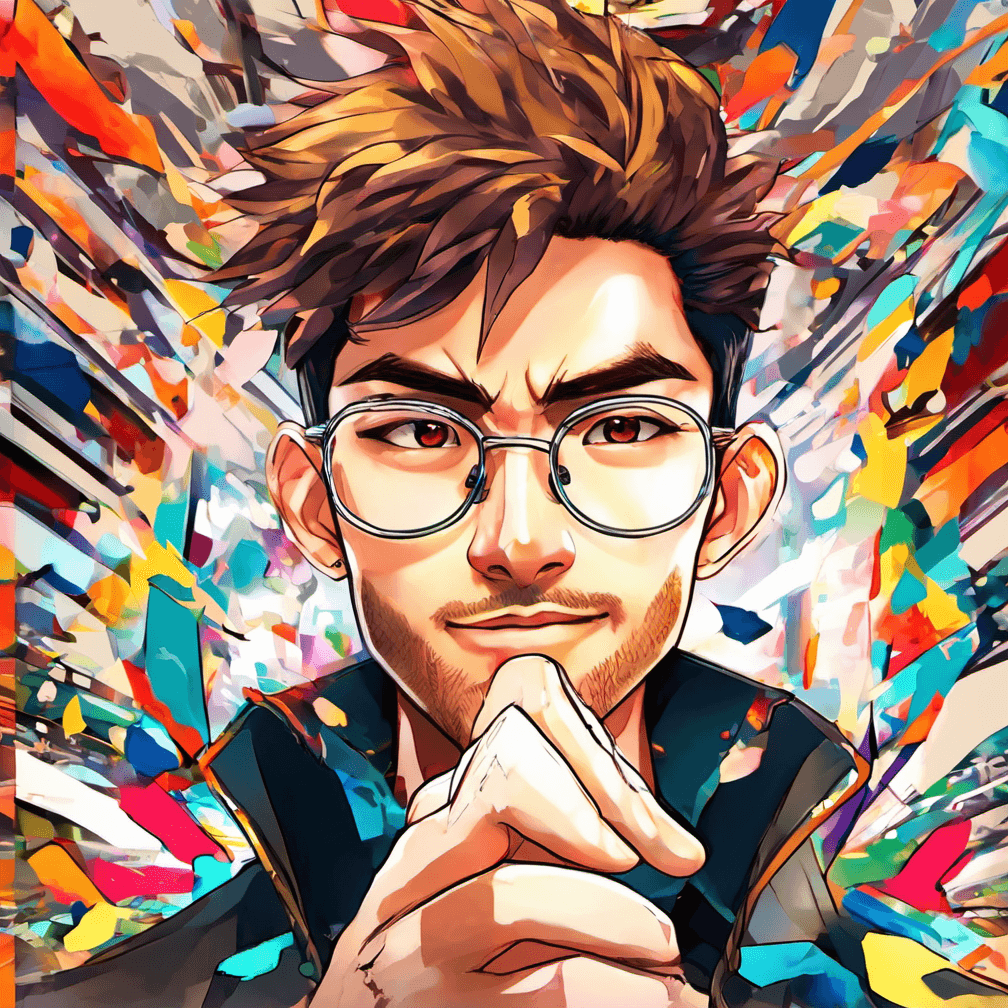
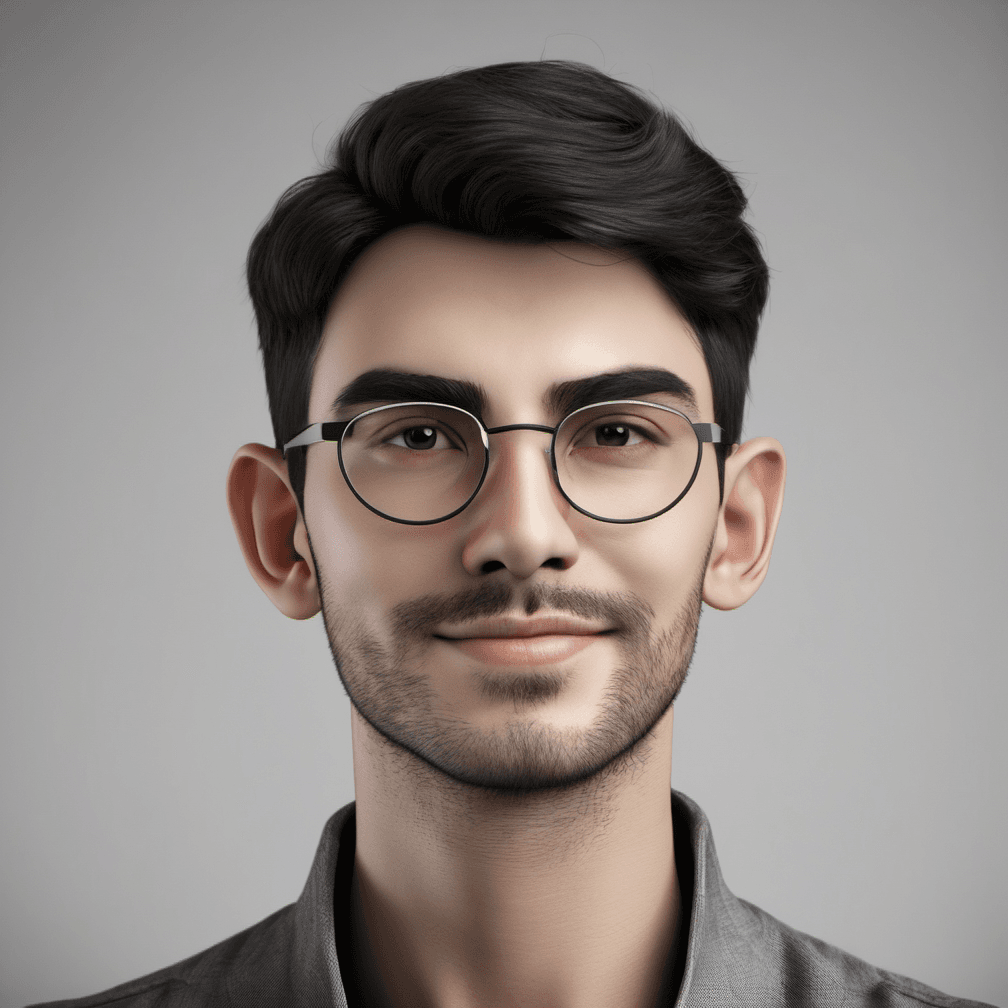
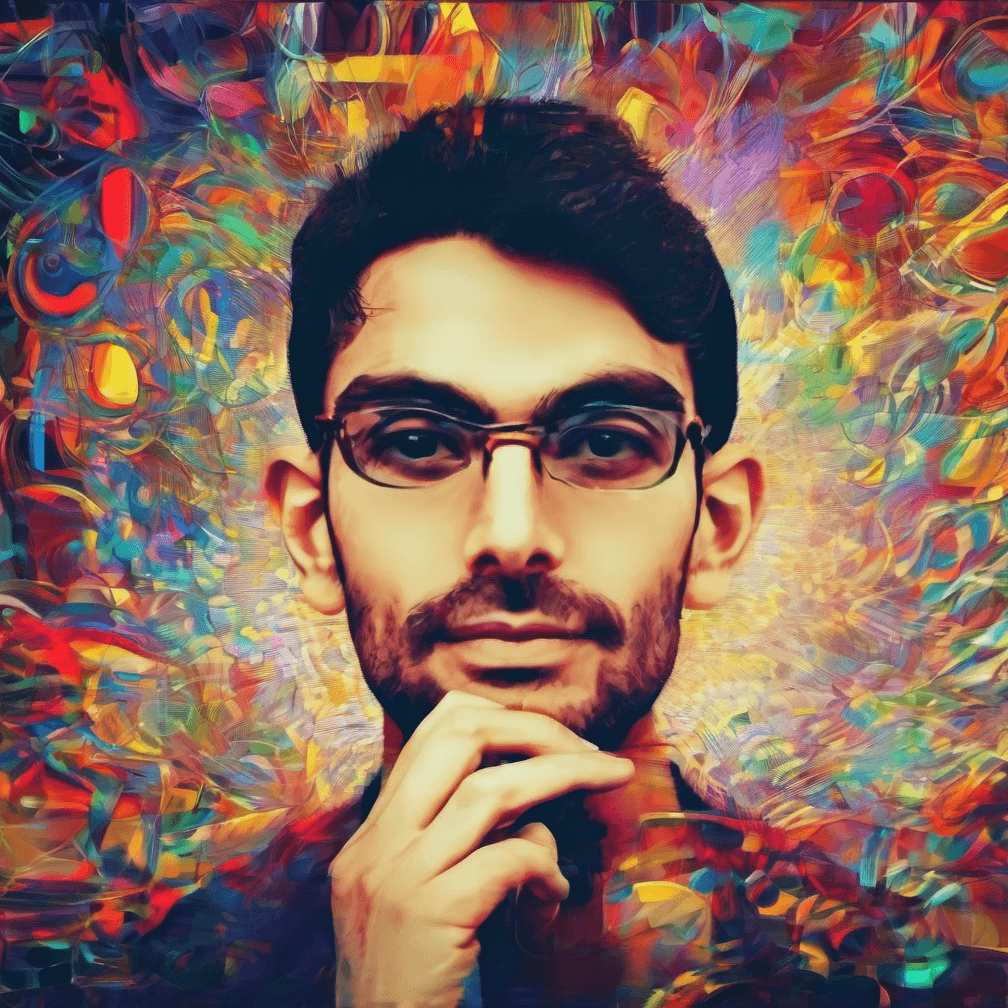
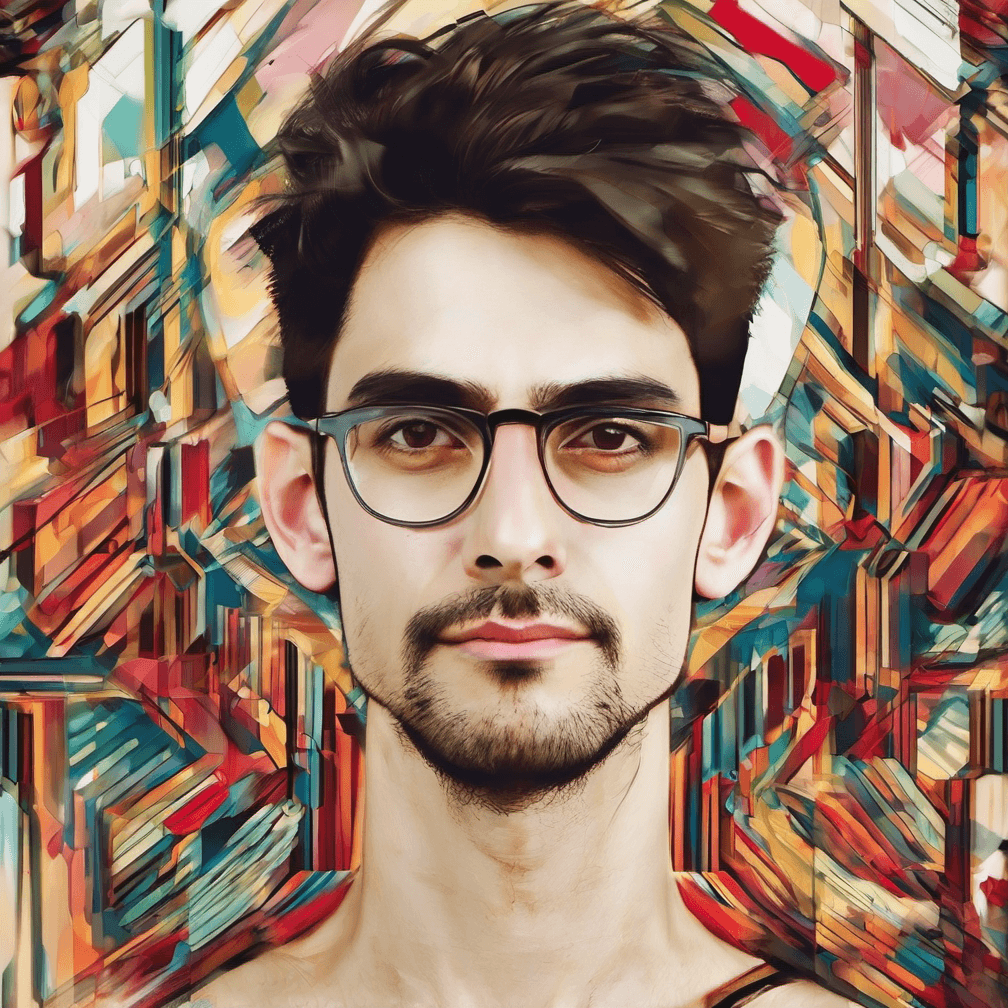
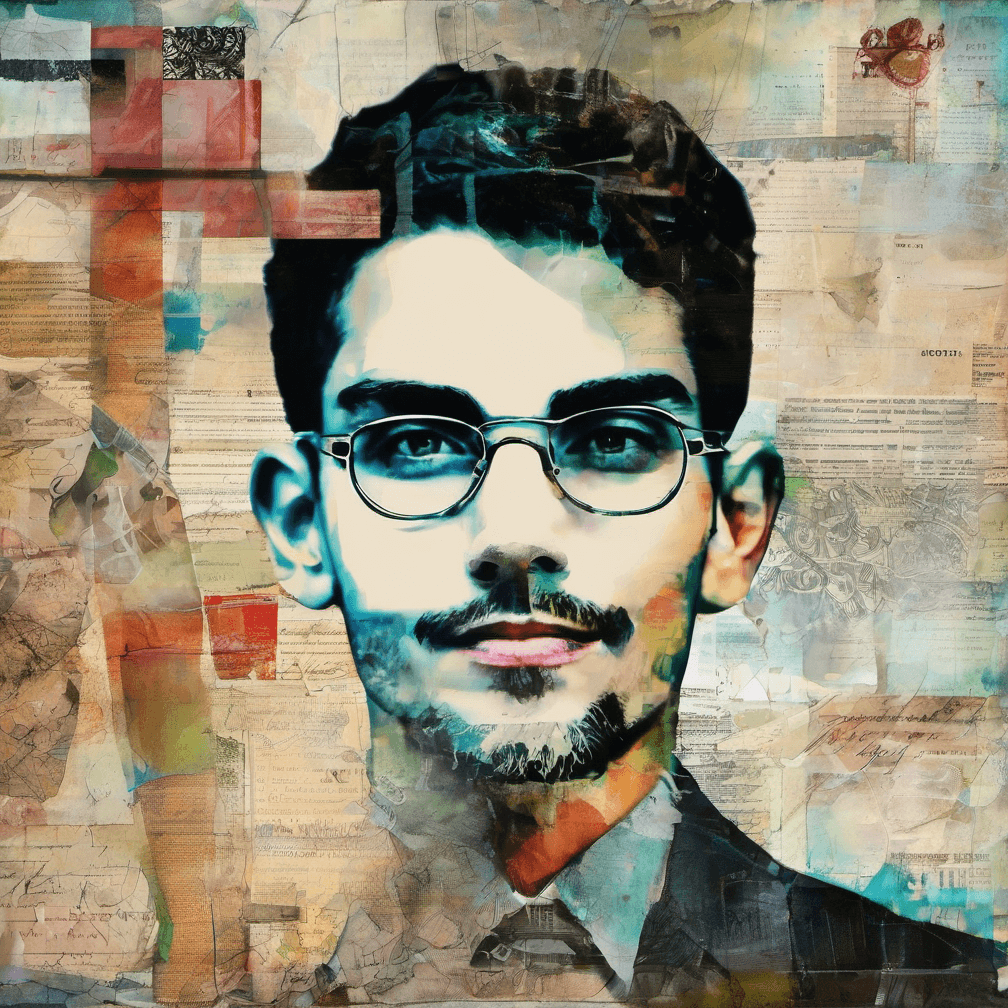
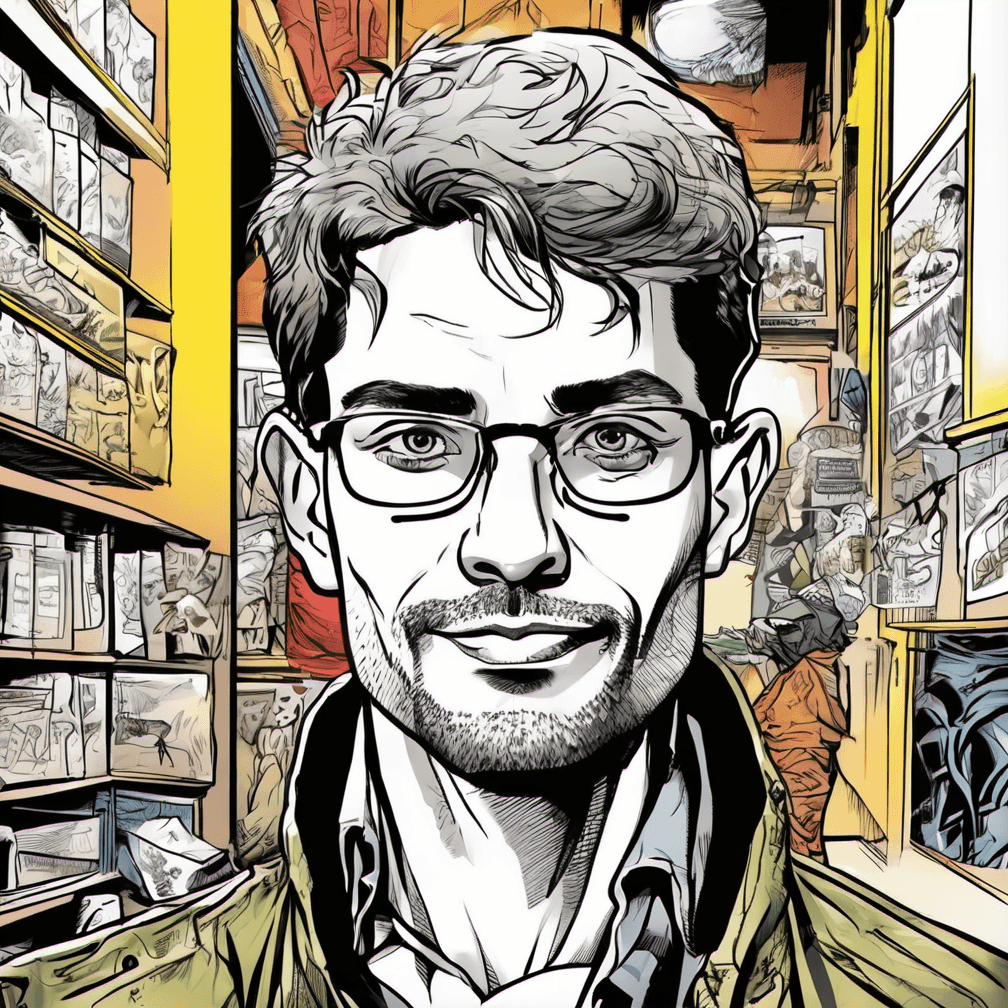
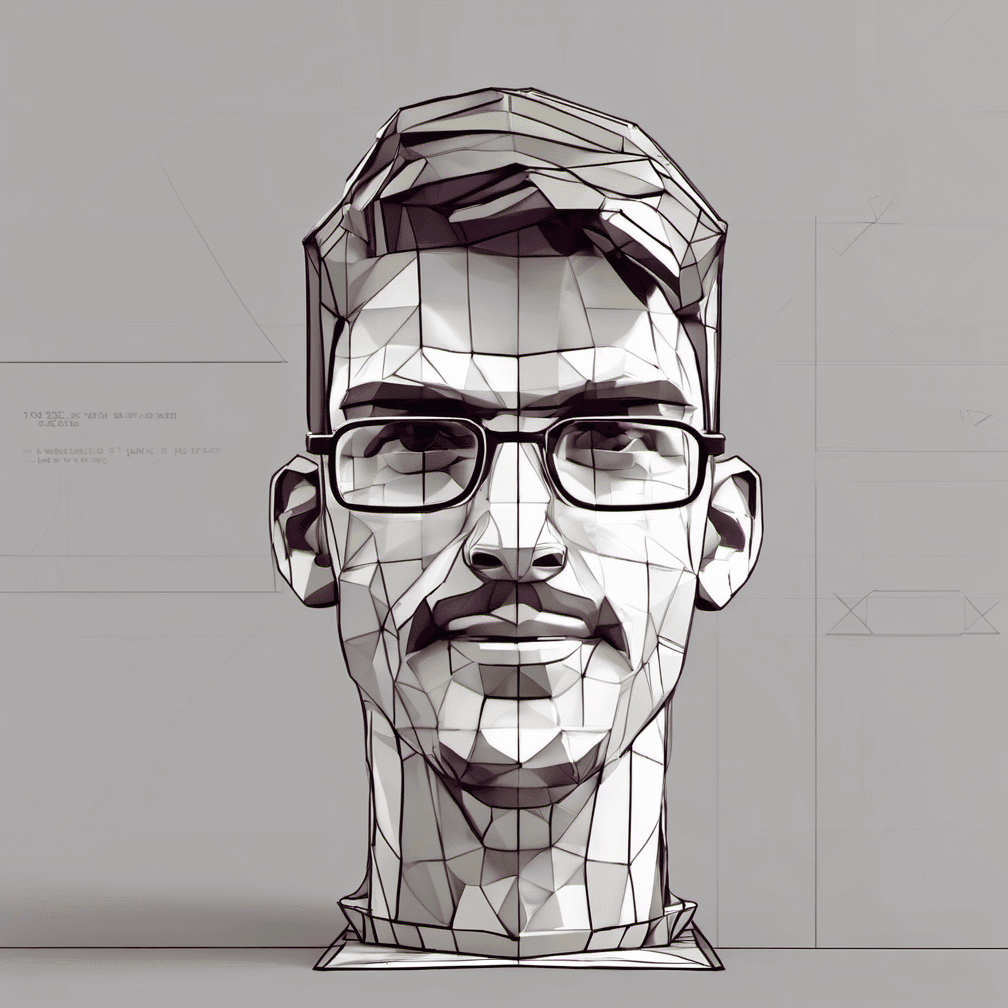
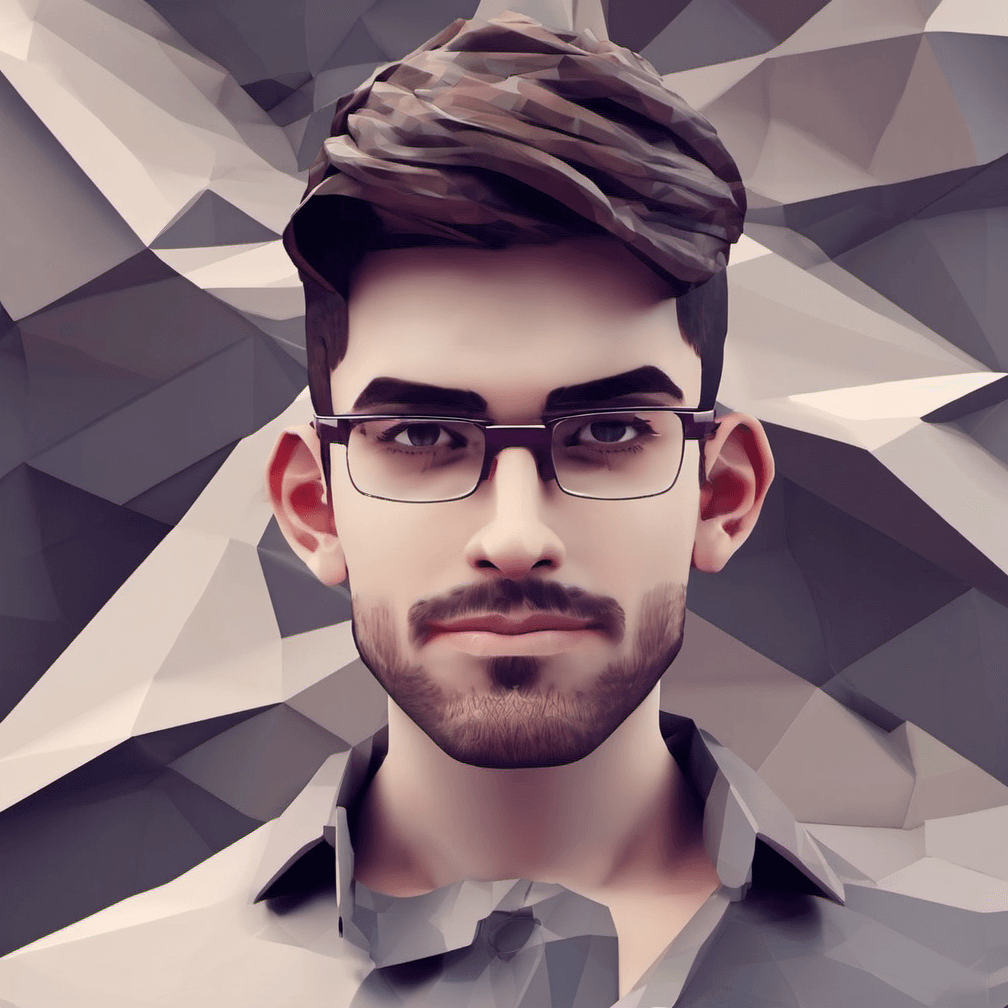
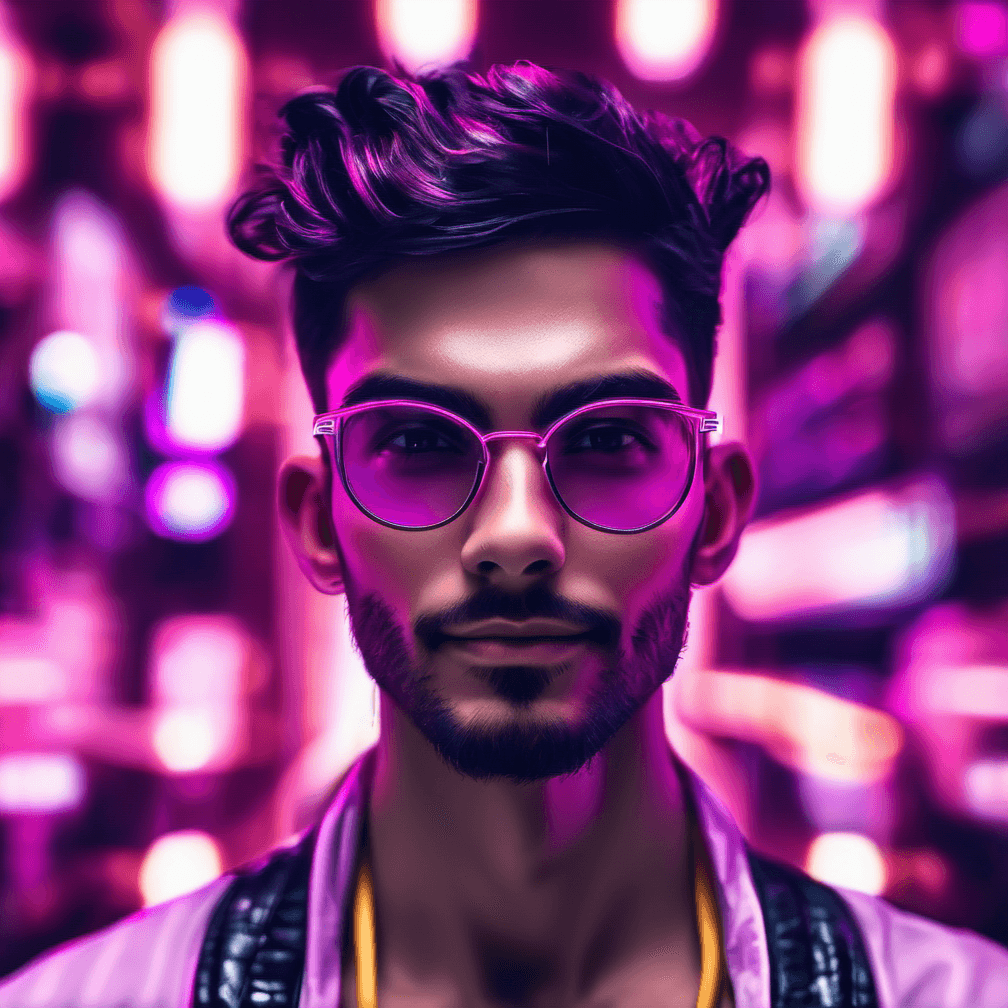
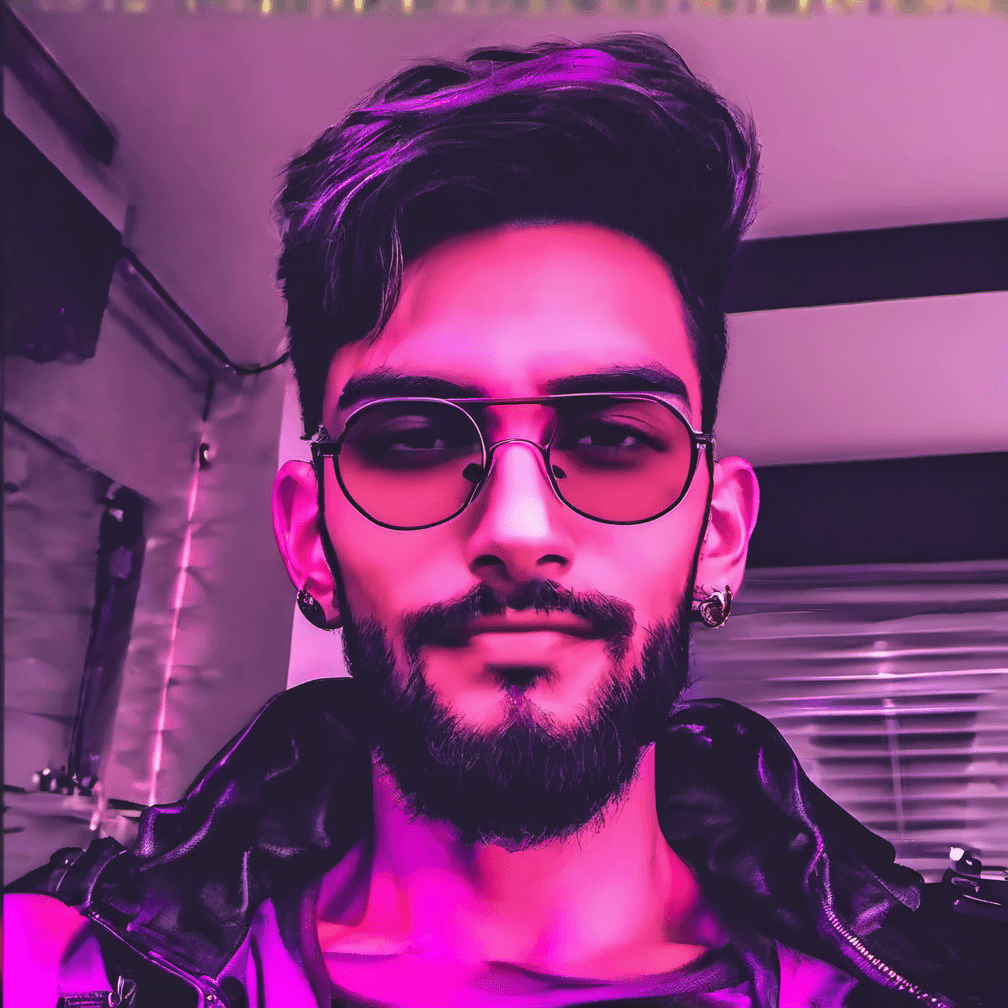
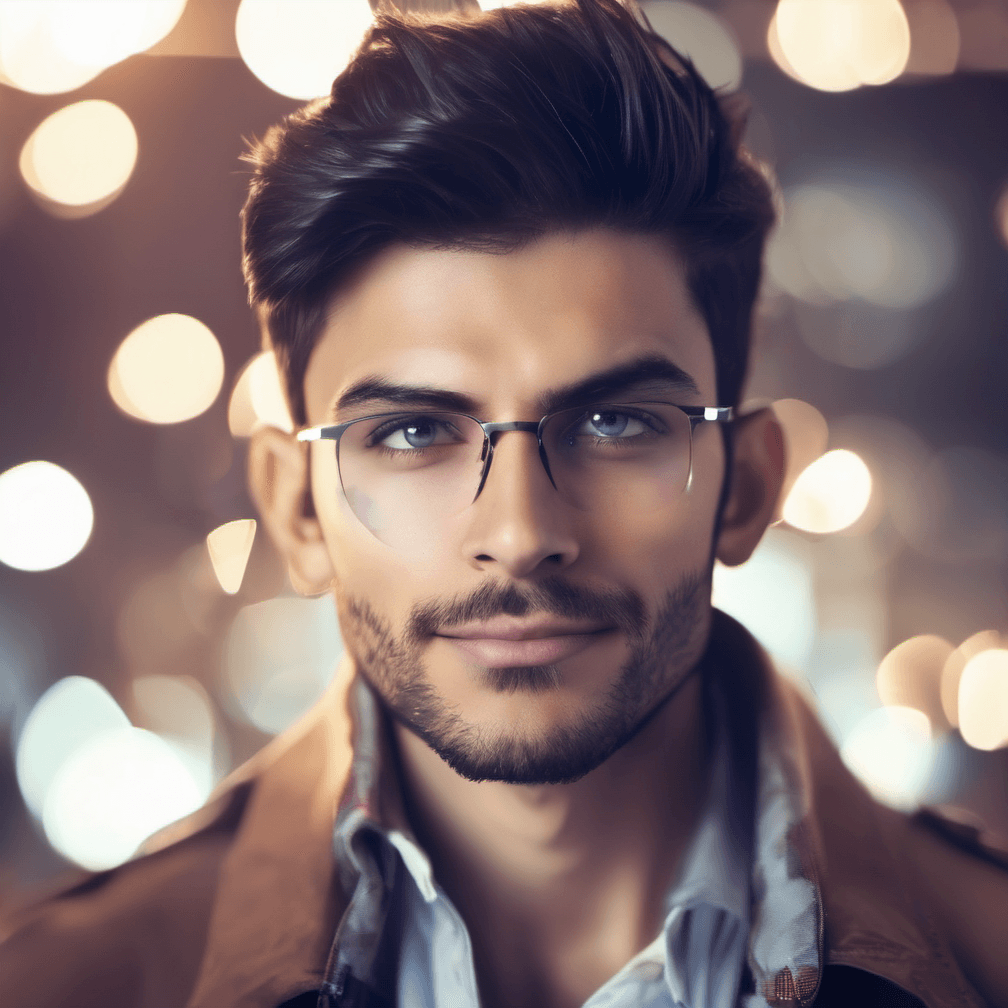
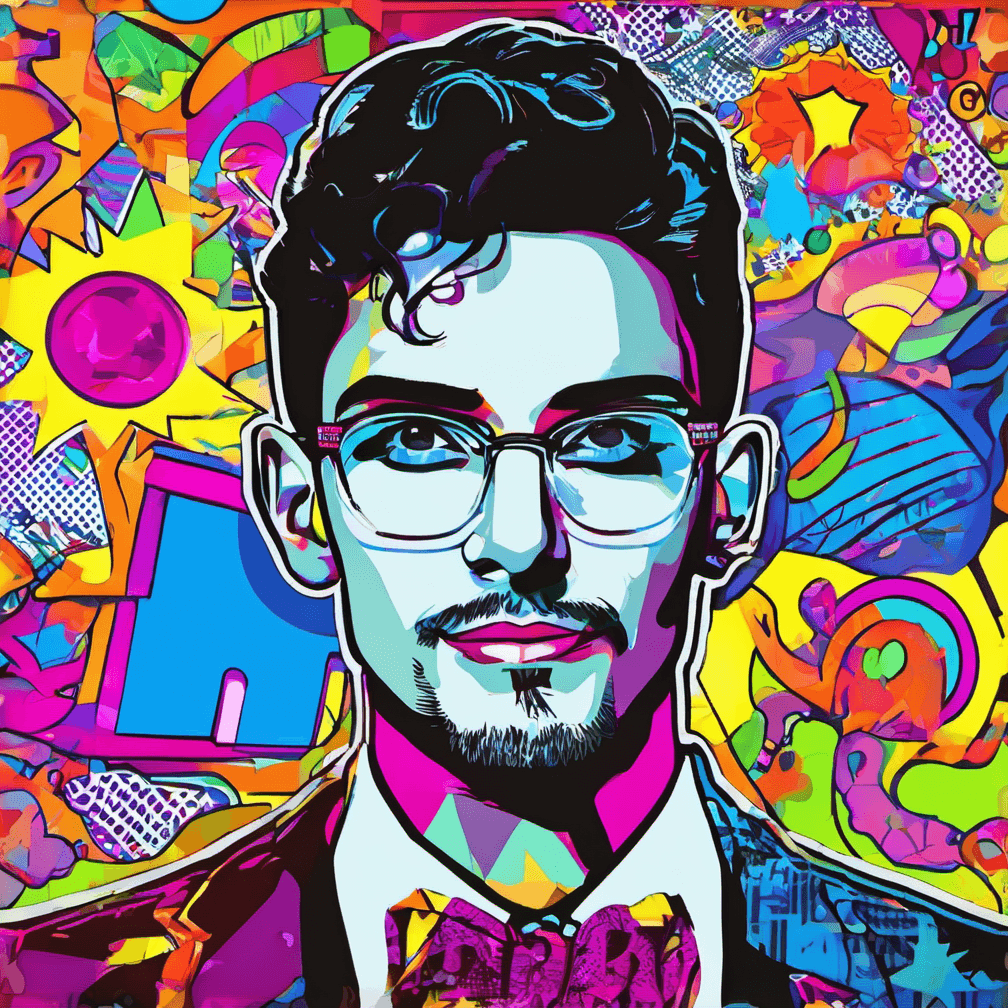
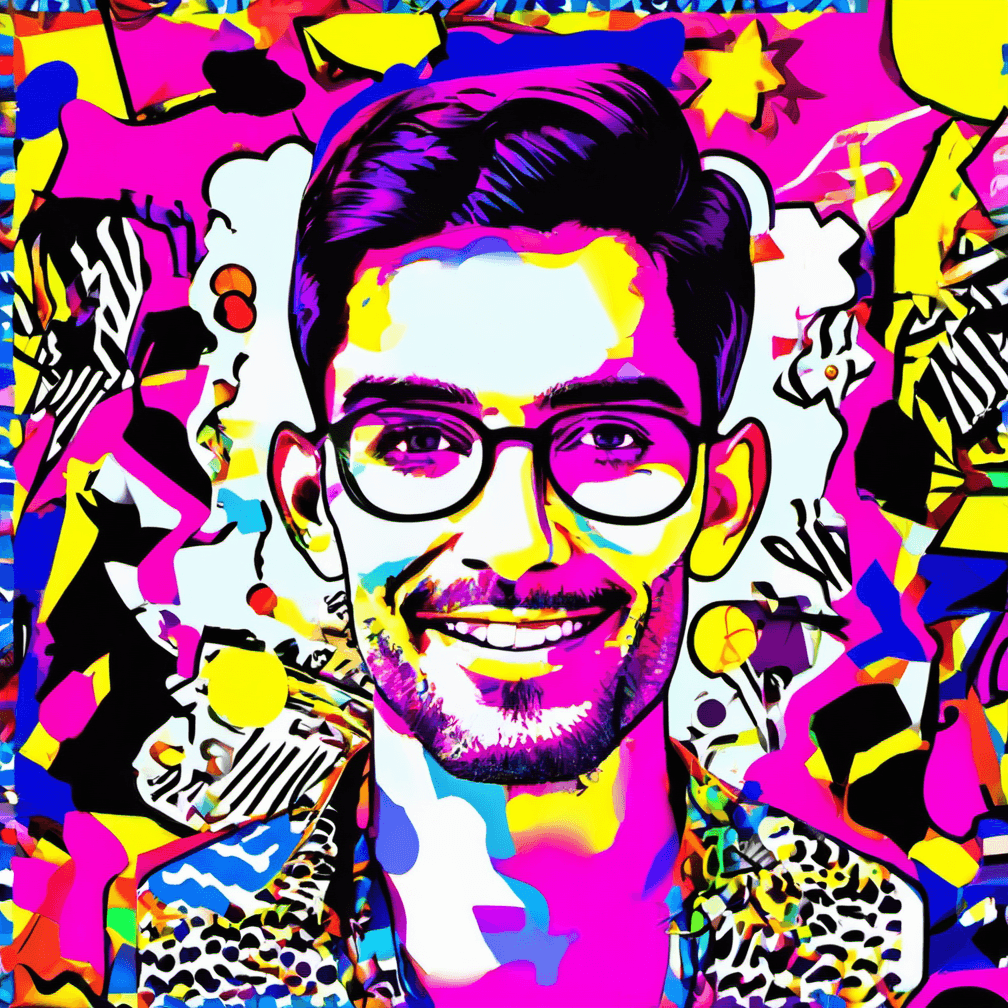
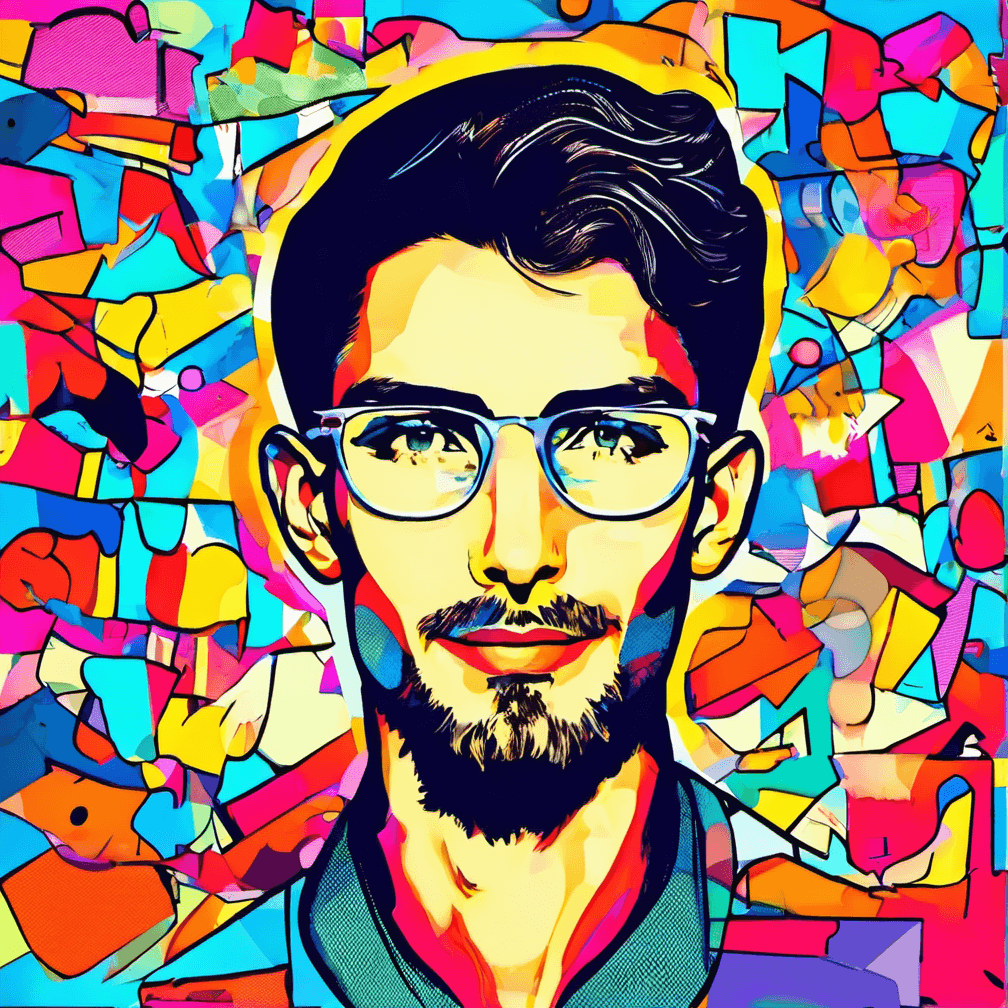
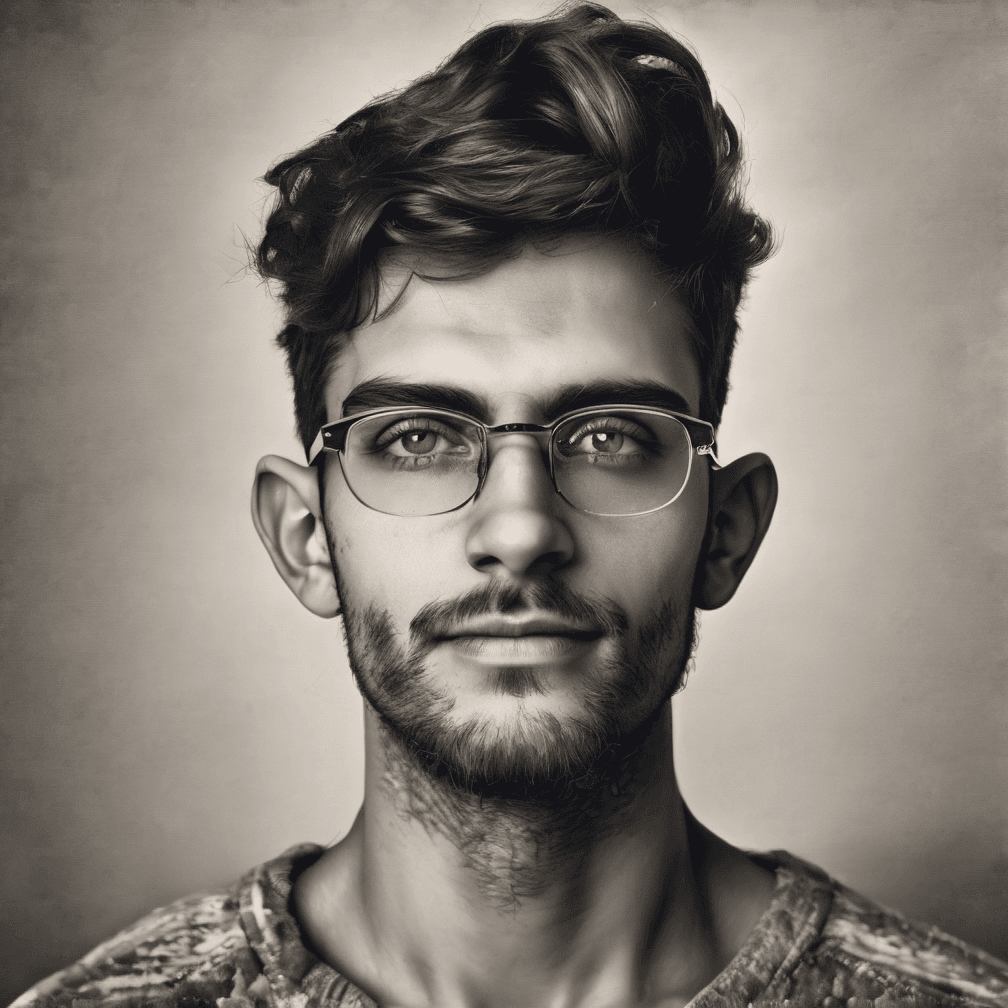
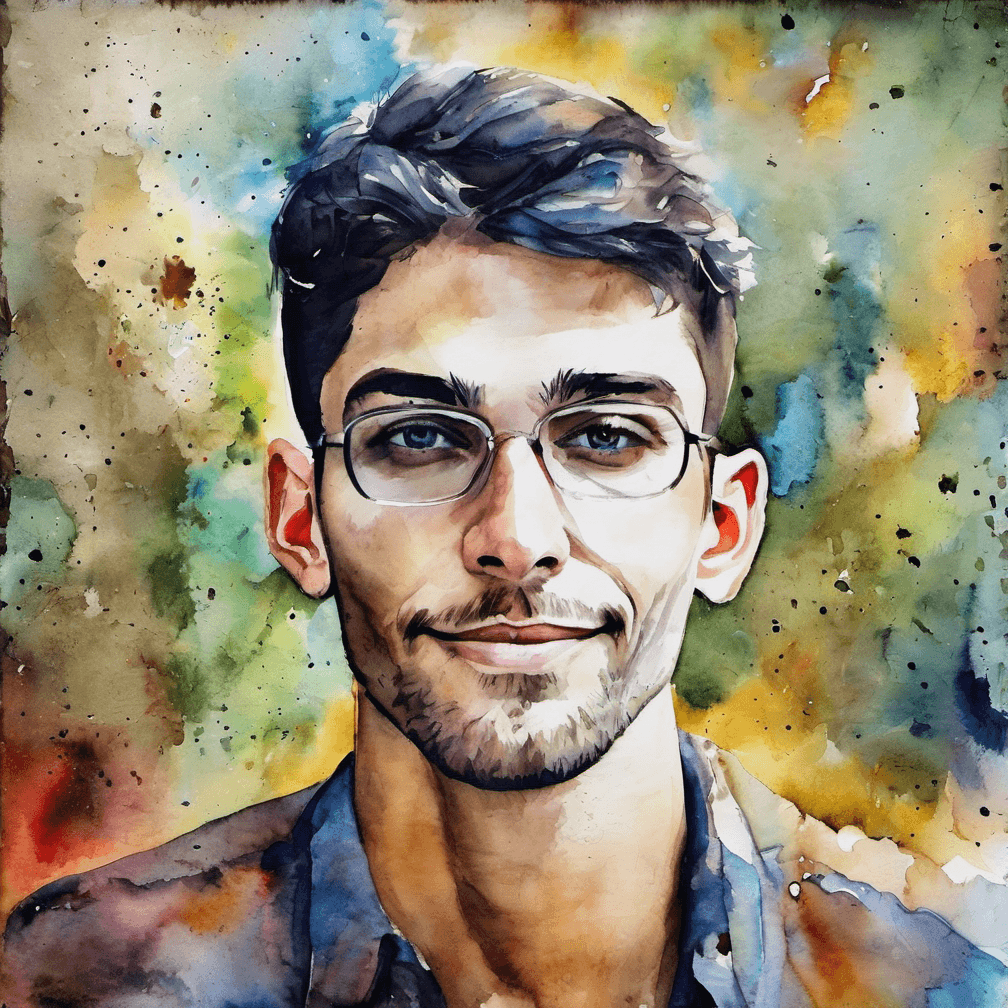
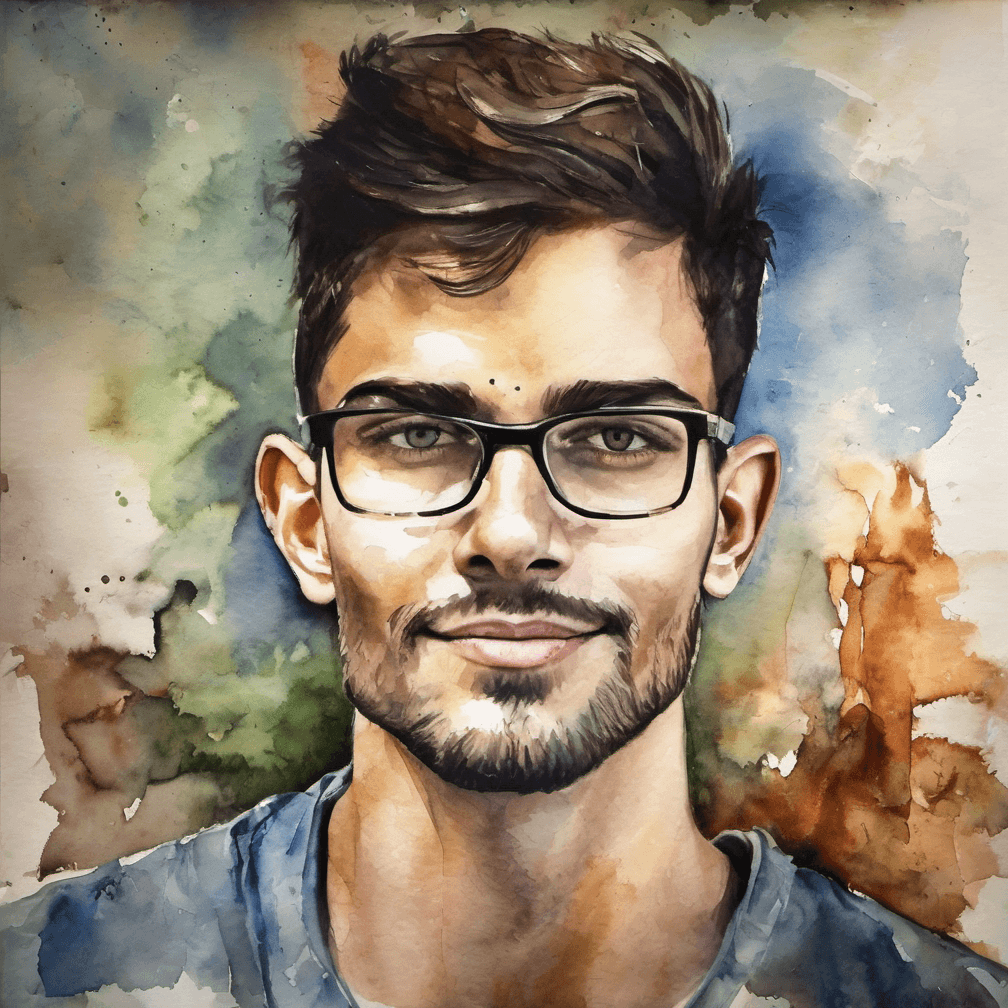
Image Gallery
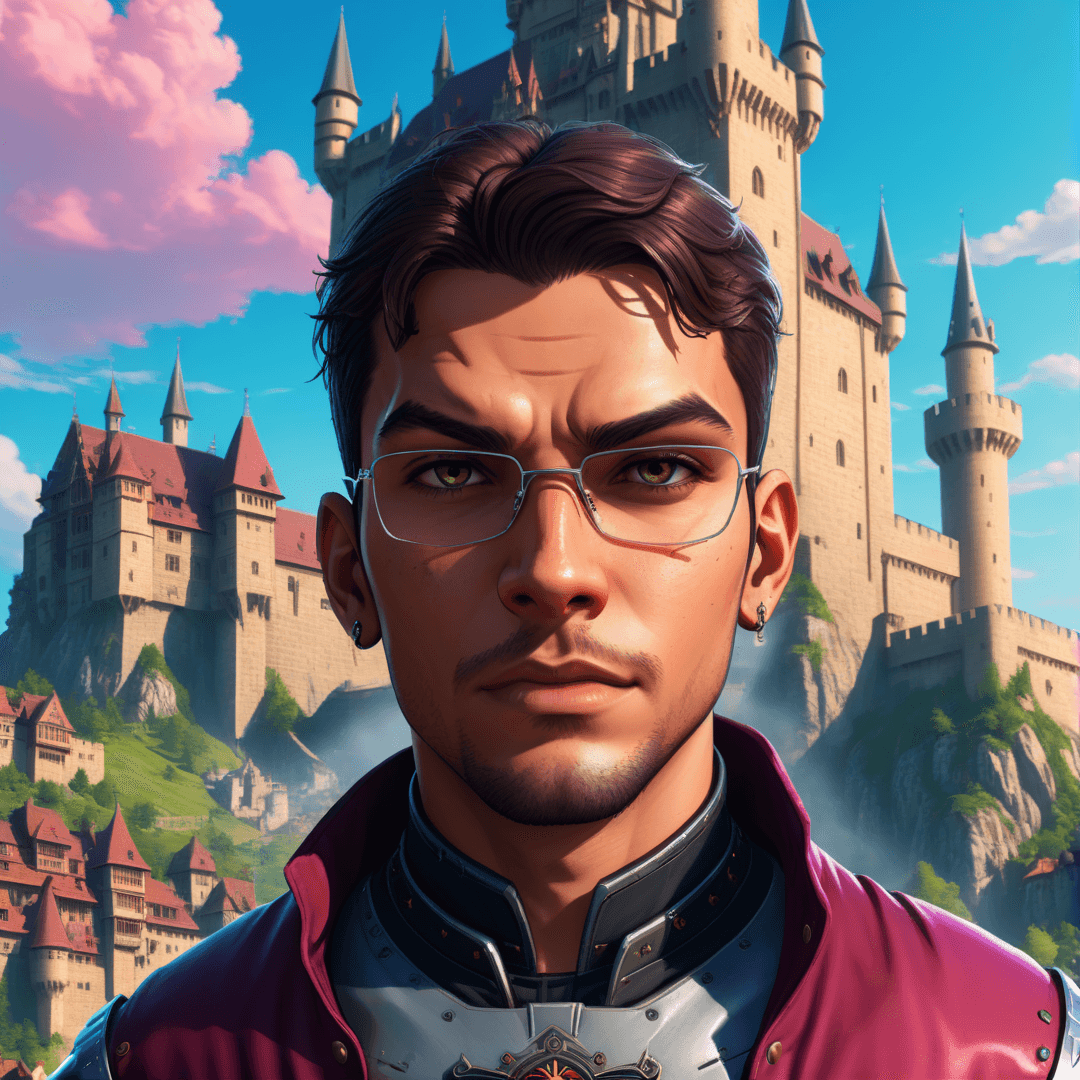
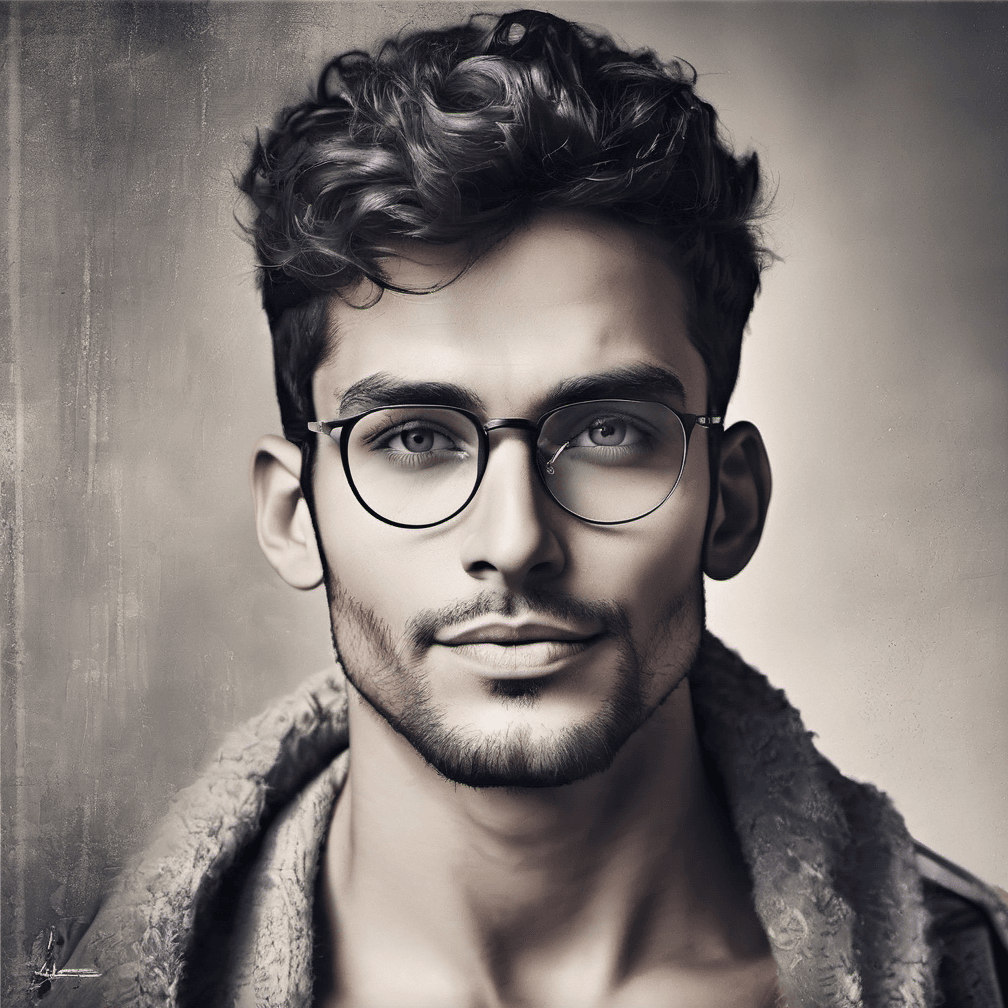
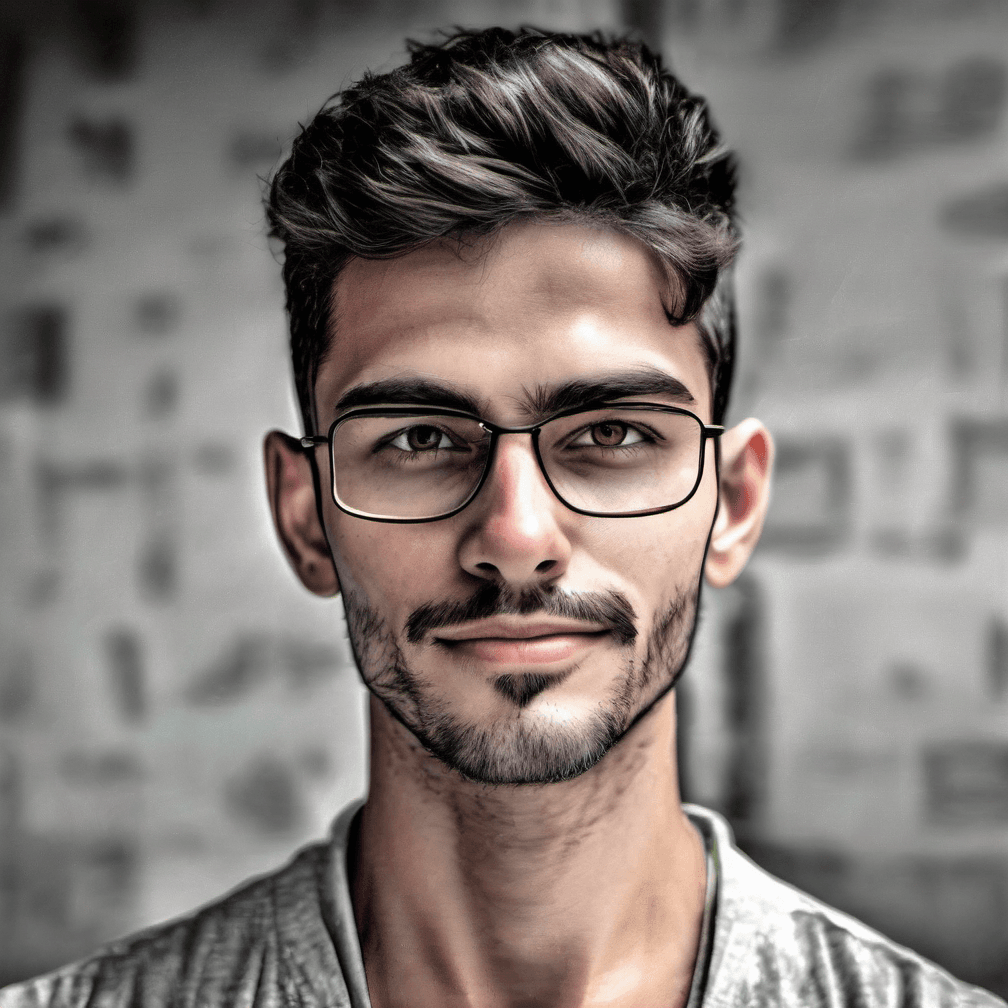
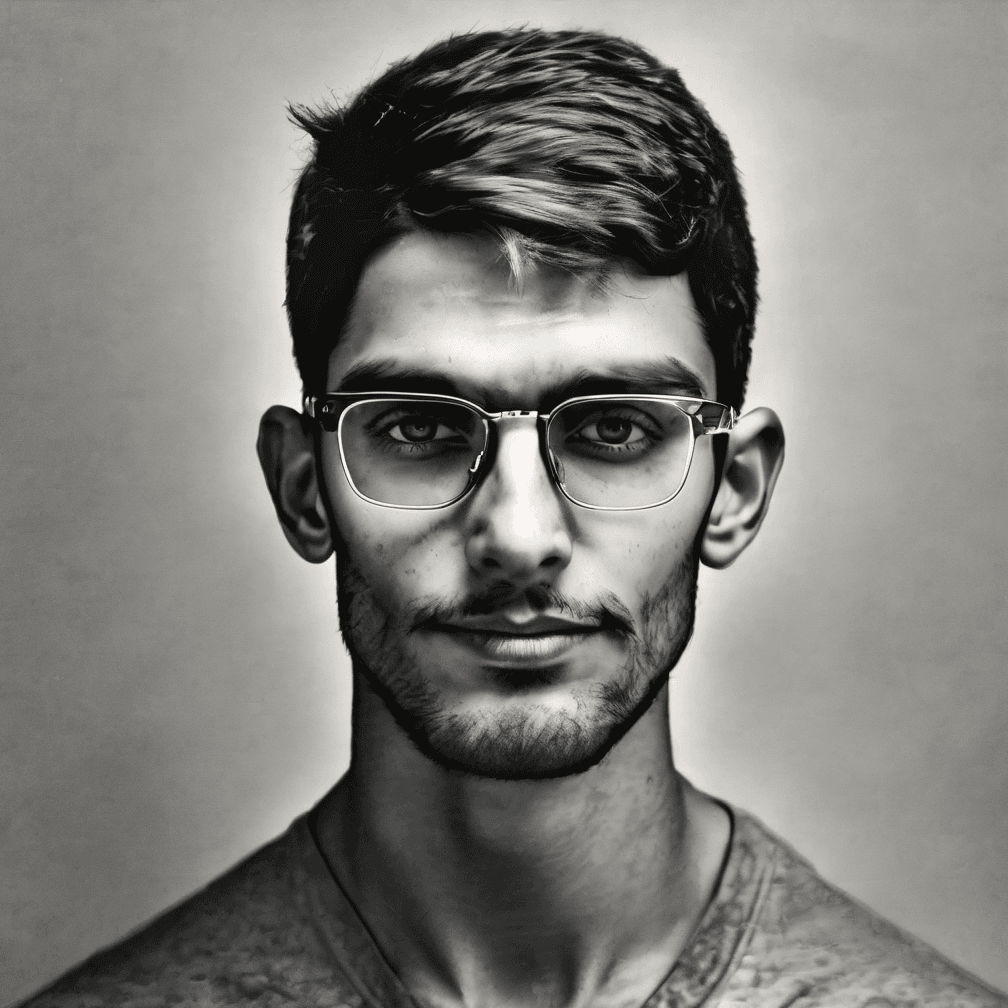
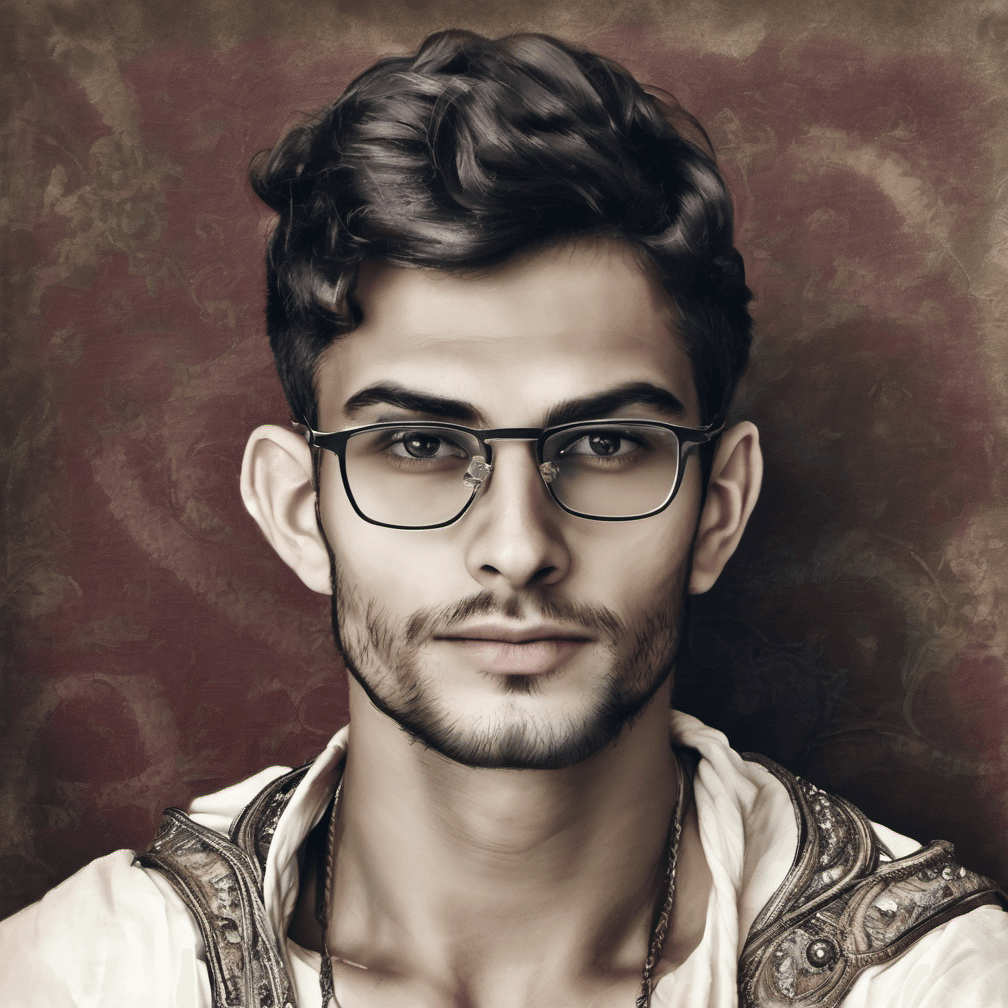
This was the initial reference image I used. Below, you'll find all my AI-generated images in different styles.